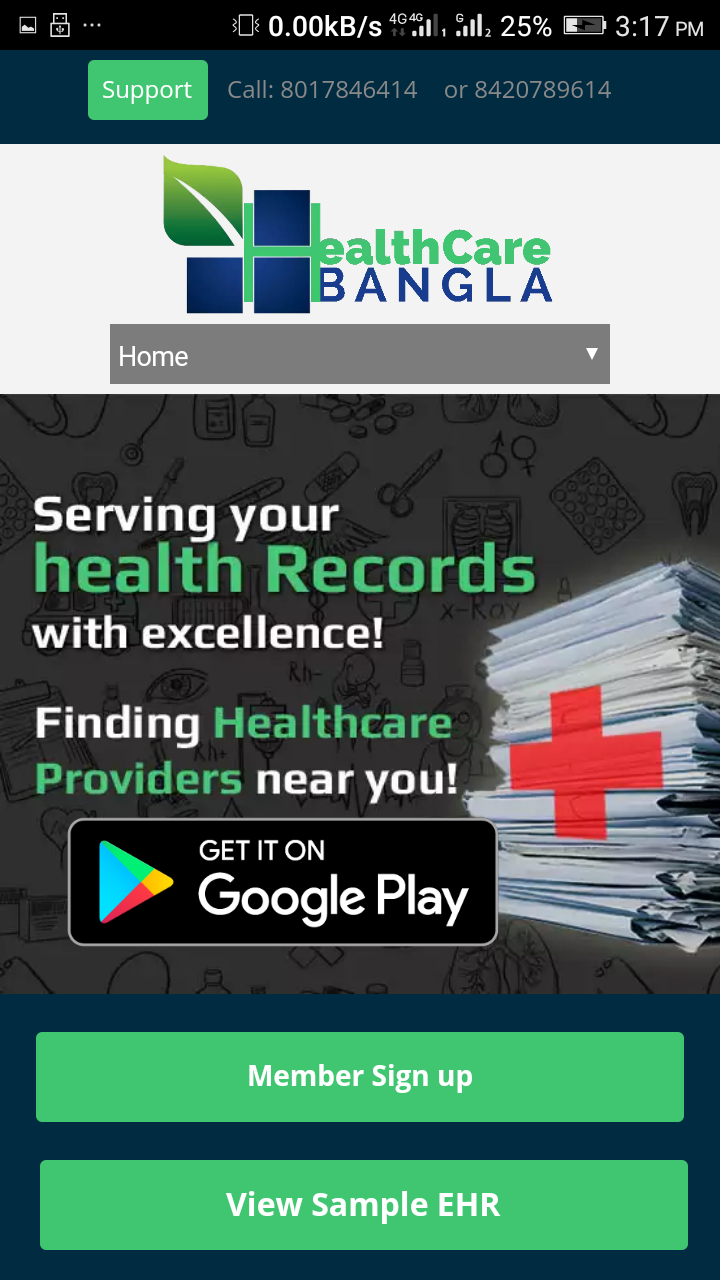
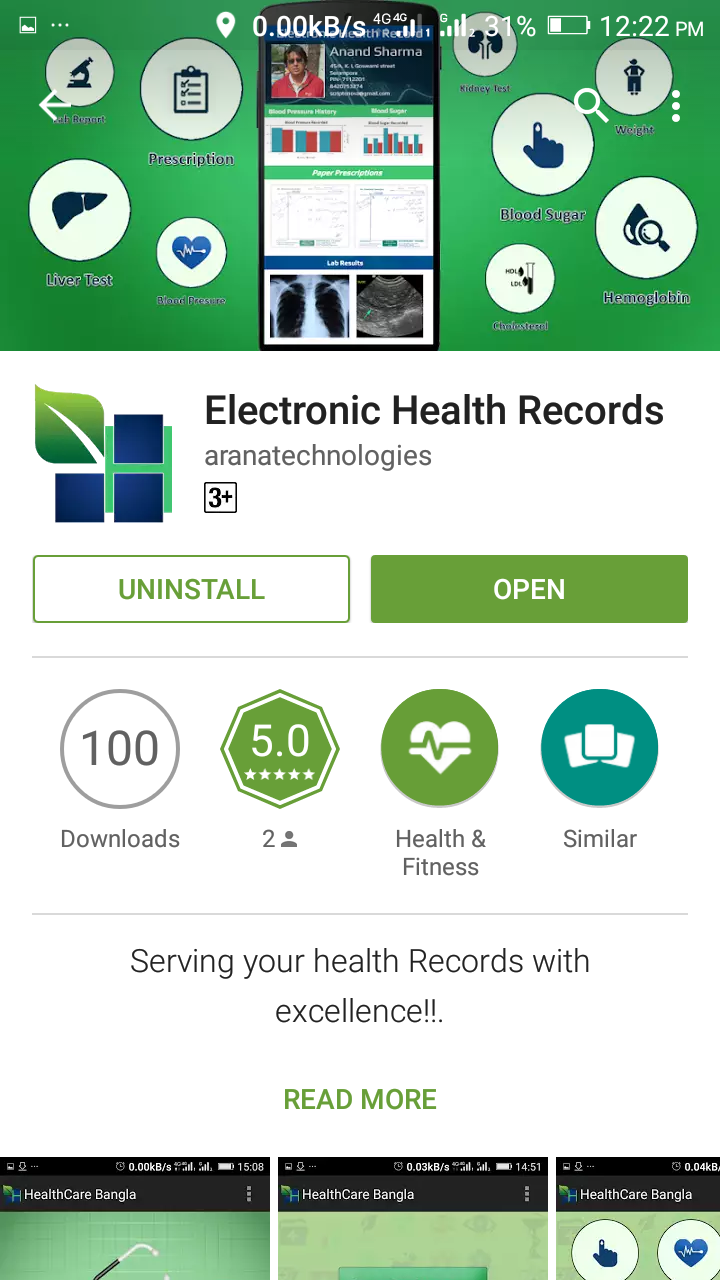
Please visit our website http://healthcarebangla.com and click on “GET IT FROM GOOGLE PLAY” BUTTON to download the app. You can directly download the app from Google play store by clicking the link given below:
https://play.google.com/store/apps/details?id=com.hcb.healthcarebangla&hl=en
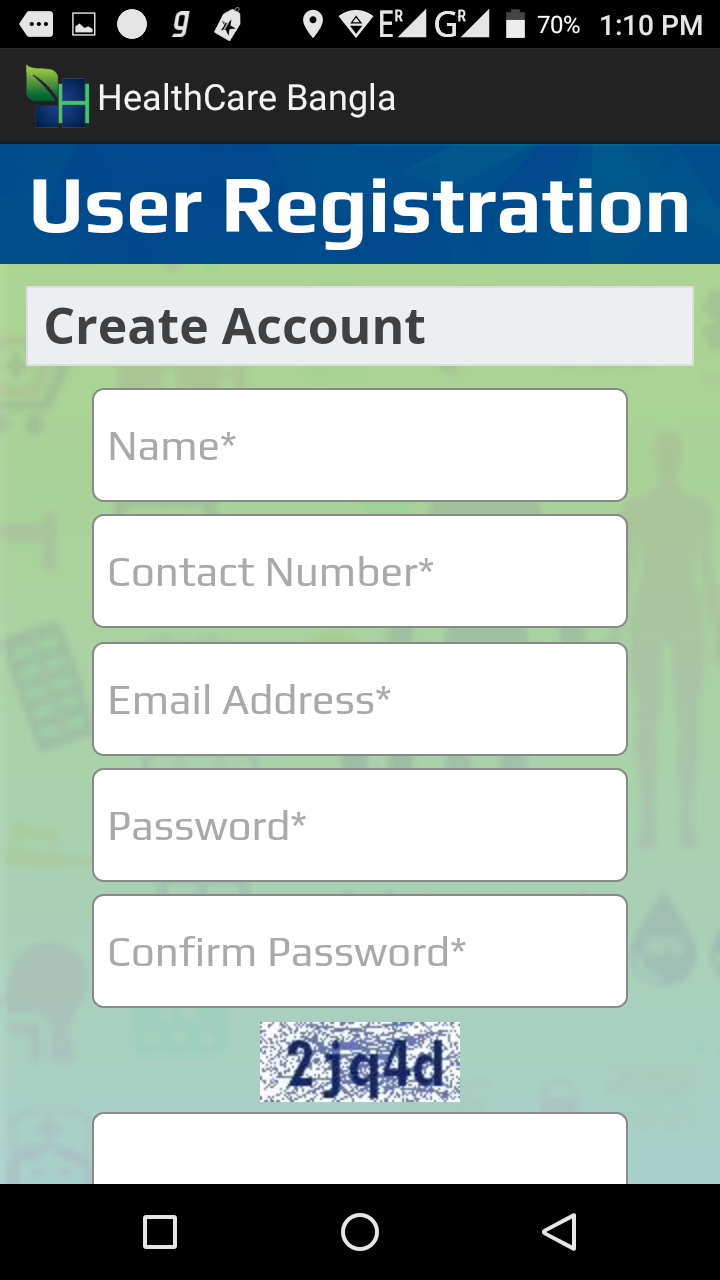
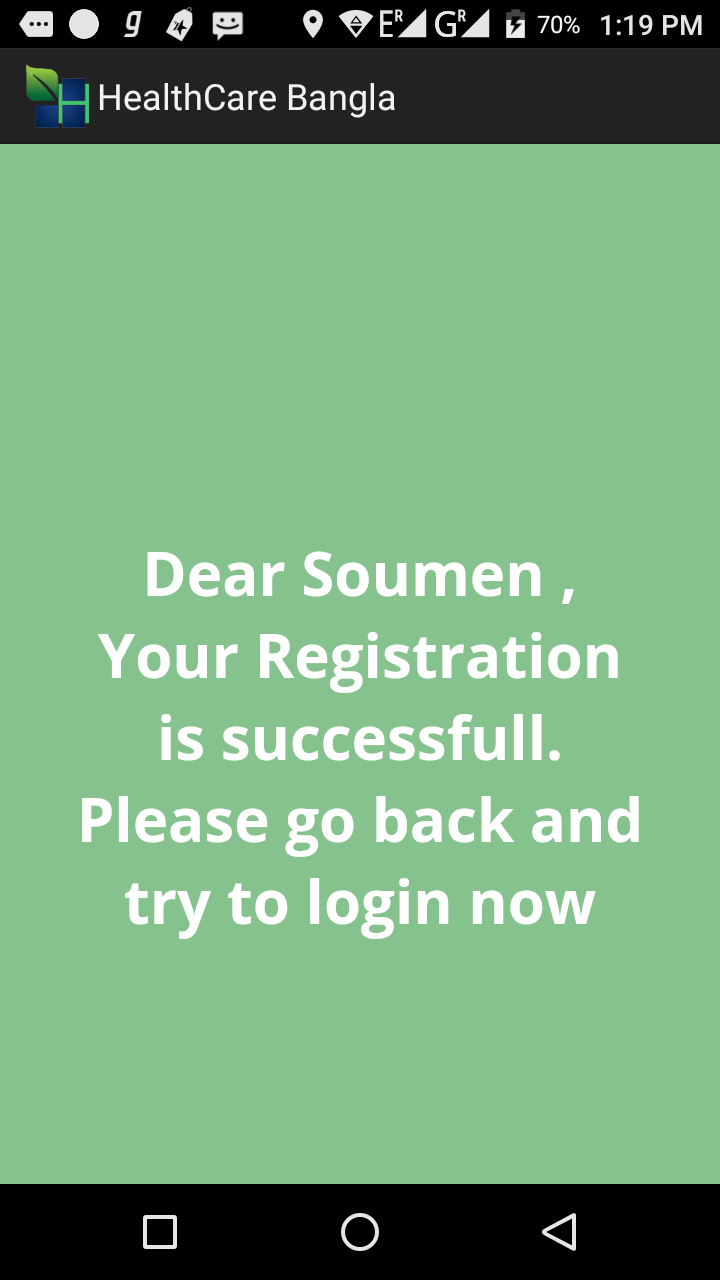
Step2: User Registration
It is very important to get yourself registered for FREE to avail our services. Please see the screenshots given below to understand the process. Please click on the “SIGNUP BUTTON” and fill up the user registration form. Once your registration is successful, use the same email and password to activate your app.
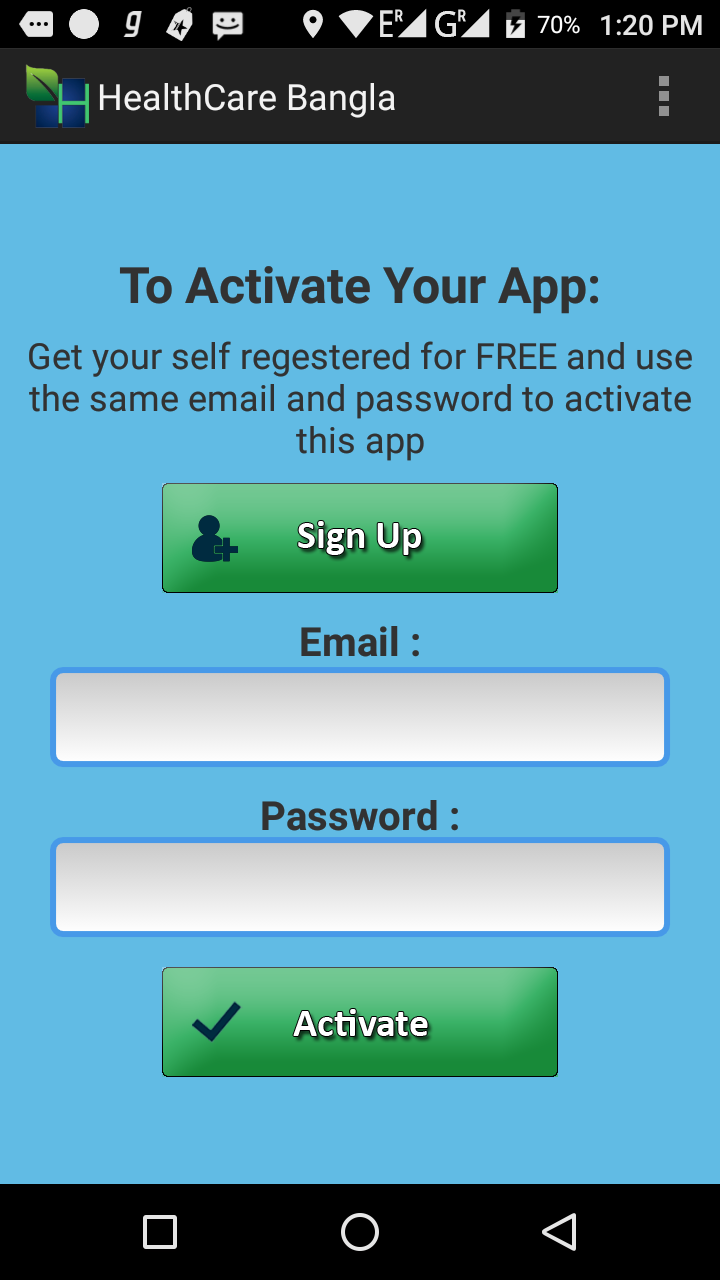
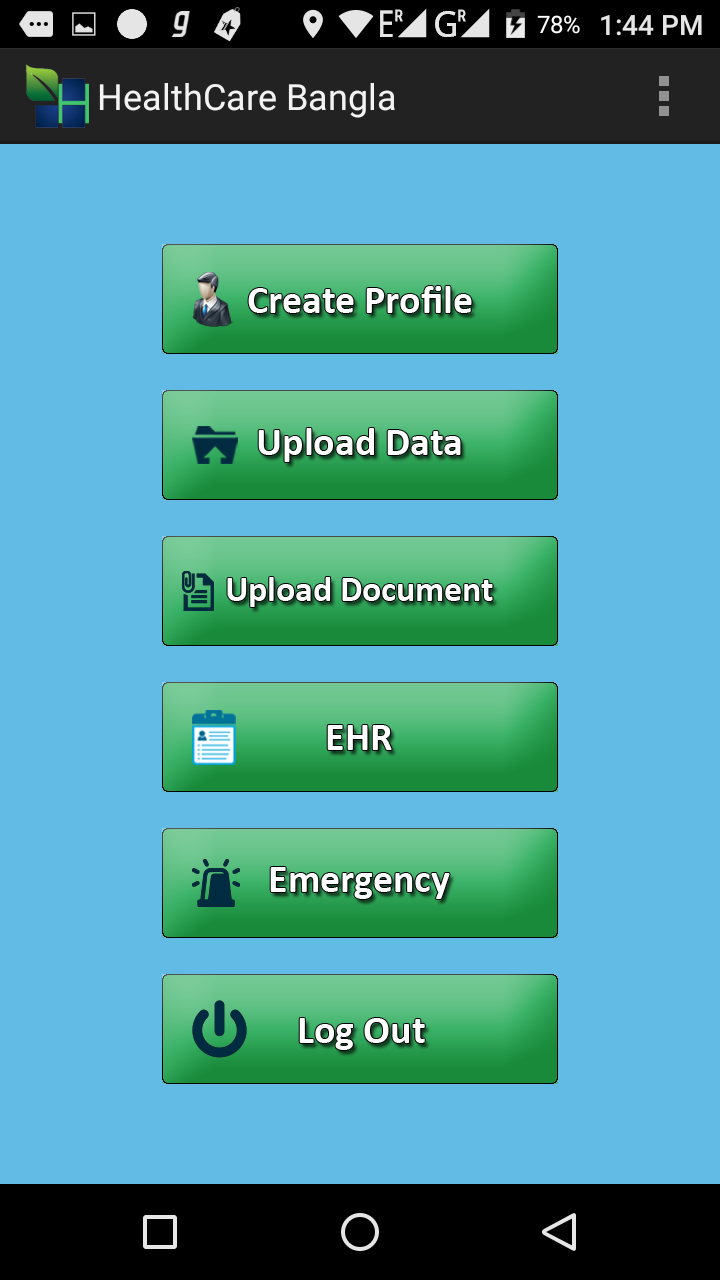
Step3: Activate your app
As stated in step 2 once your registration is done, you can use the same email and password to activate your app. It’s completely FREE. Once your app is activated, it takes you to “User Home” section. From where you can create your profile, upload data, upload document, view your EHR, send your EHR to doctor or hospital and ask for help in case of medical emergency. Please see the screenshots given below to understand the process
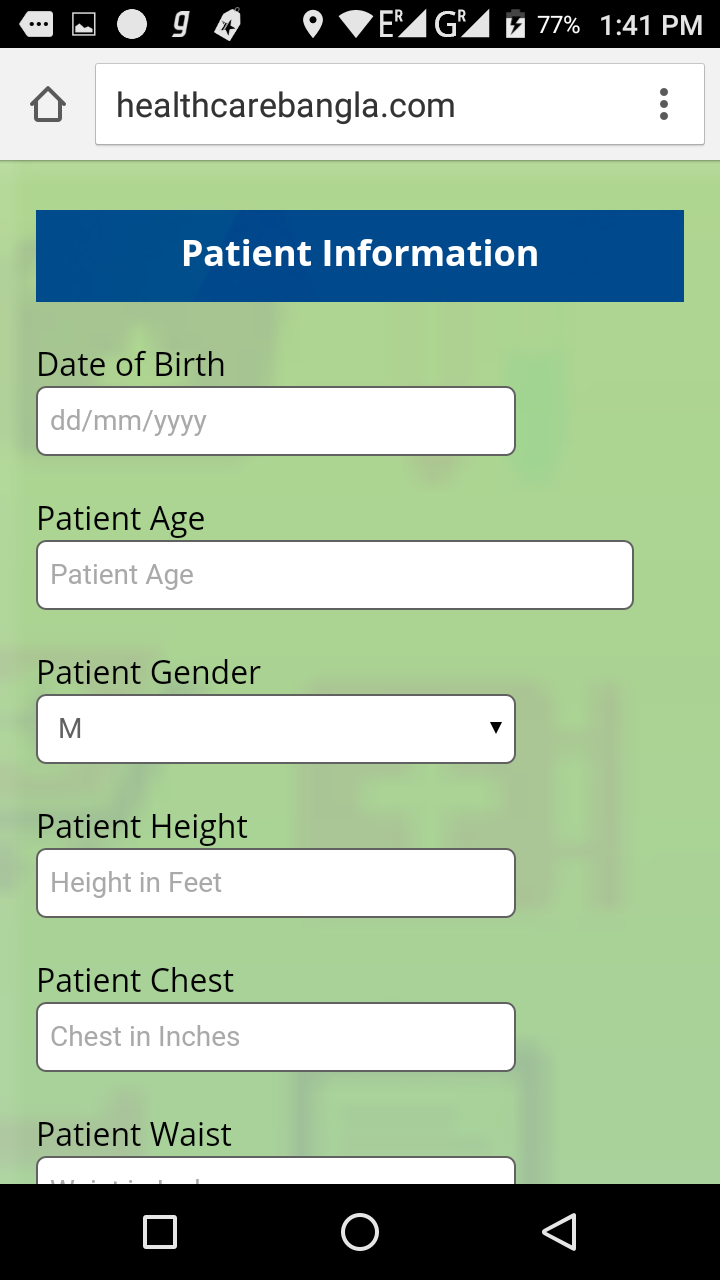
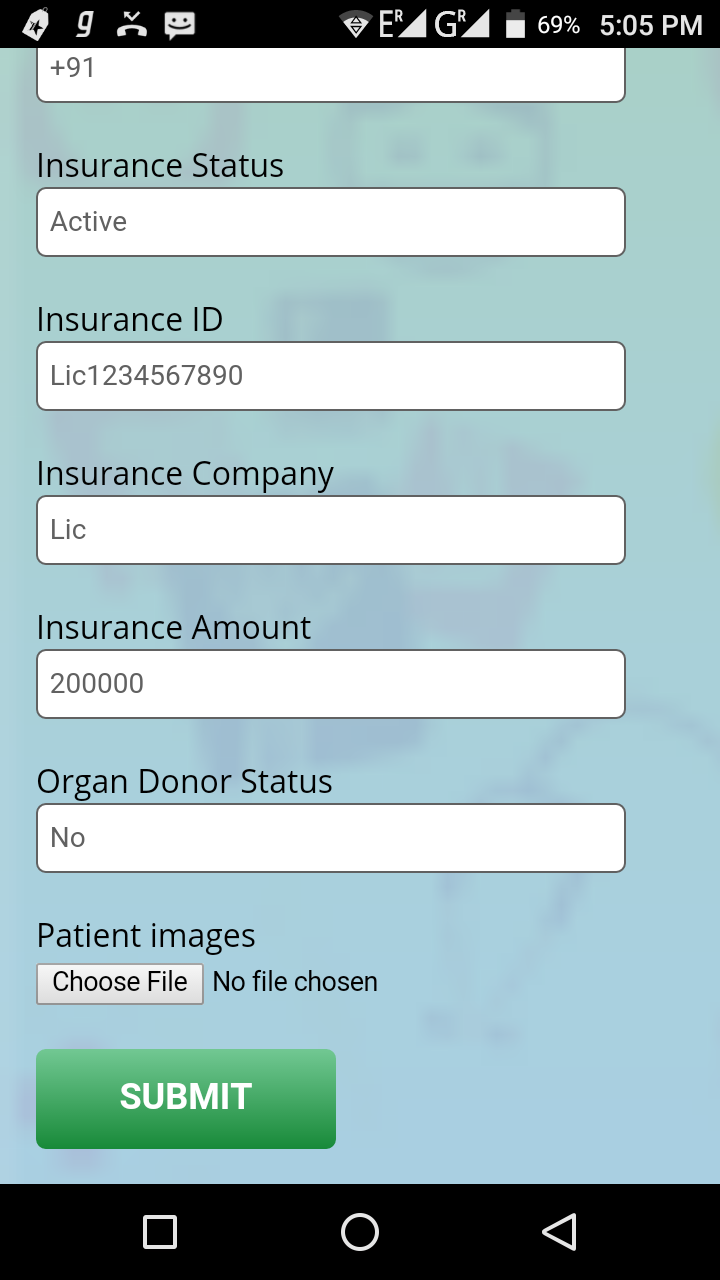
Step4: Create your profile
It’s very important to create your profile with accurate data and your recent picture because the doctors or the hospitals need to know your detail information before they can help you. Please take your time to fill up this form with accuracy and do not forget to upload your picture. Please see the screenshots given below to understand the process.
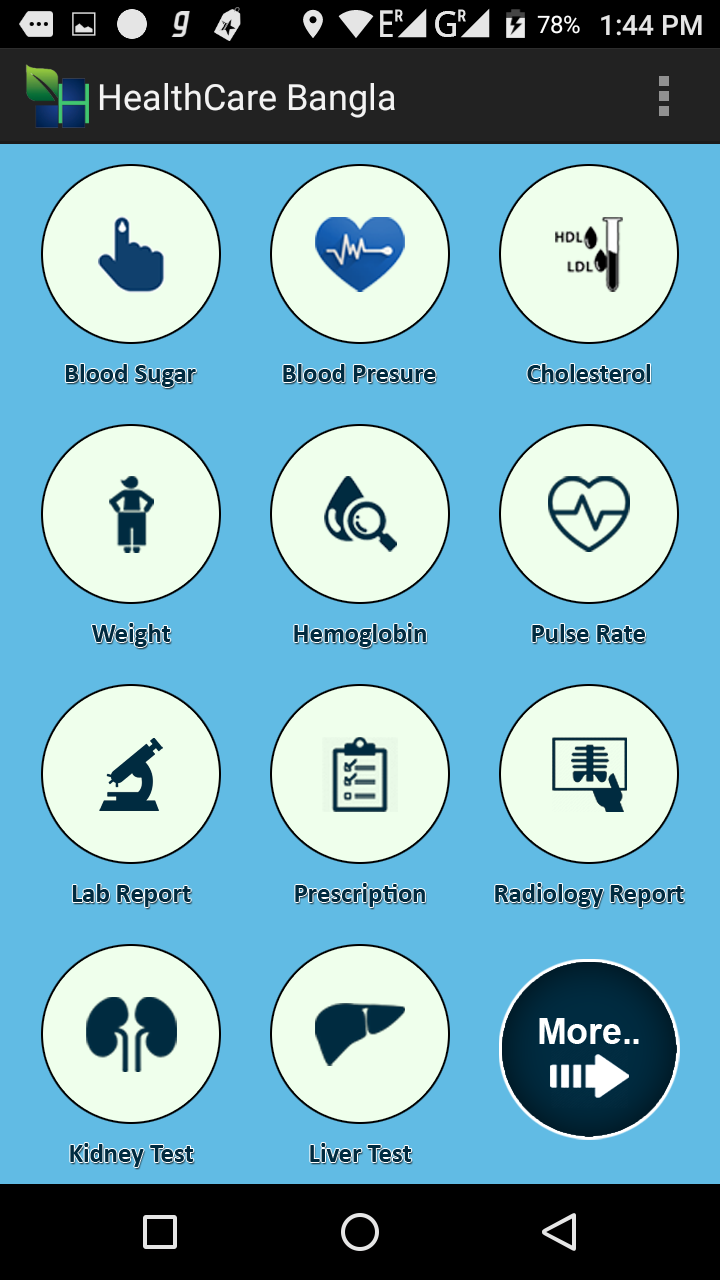
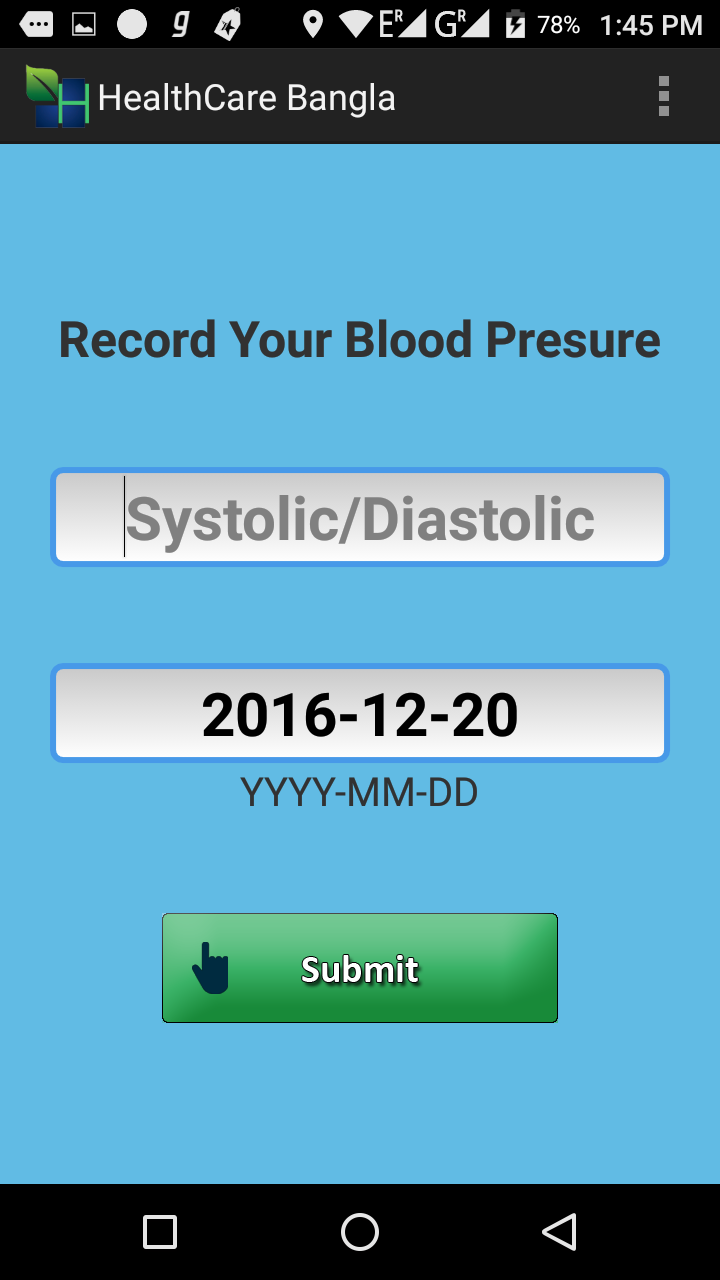
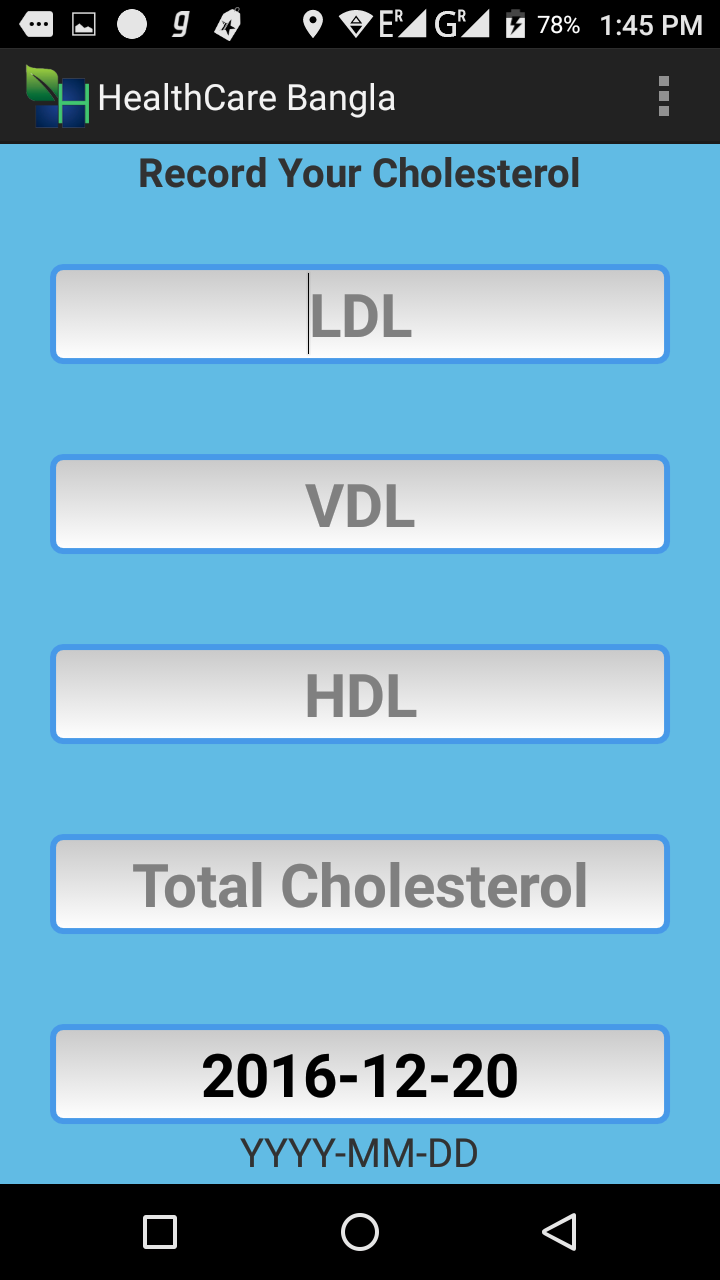
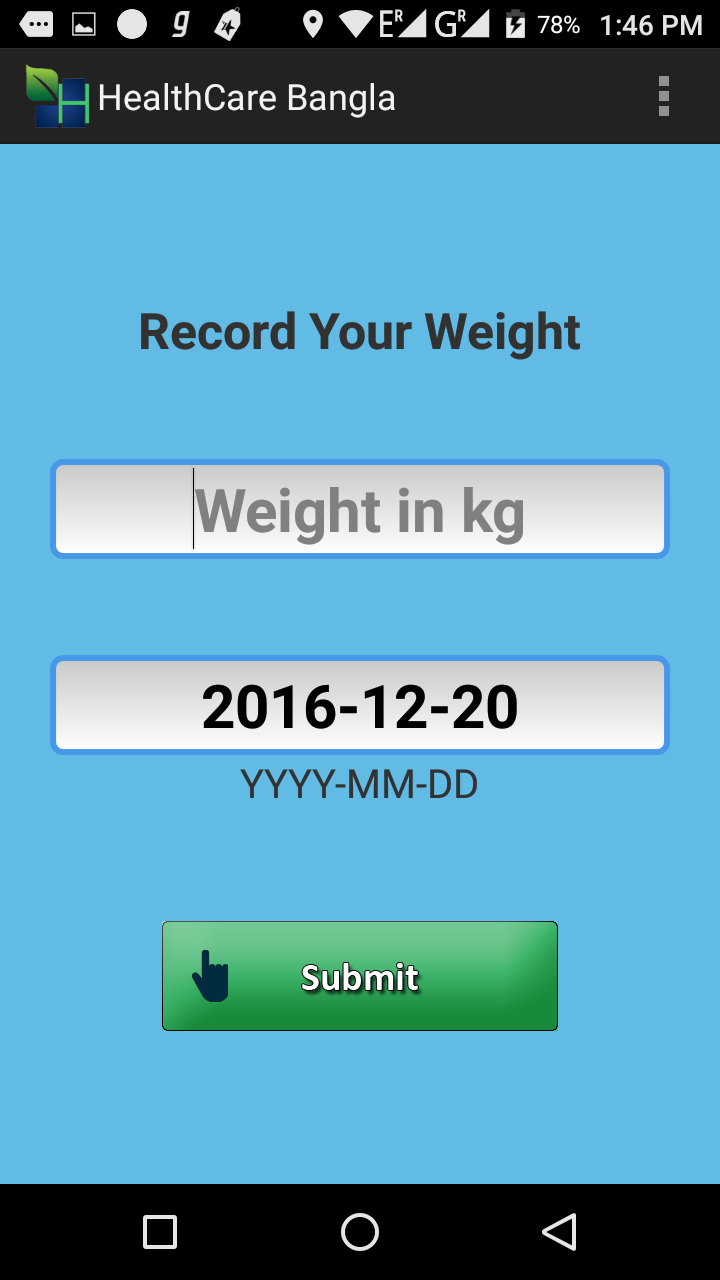
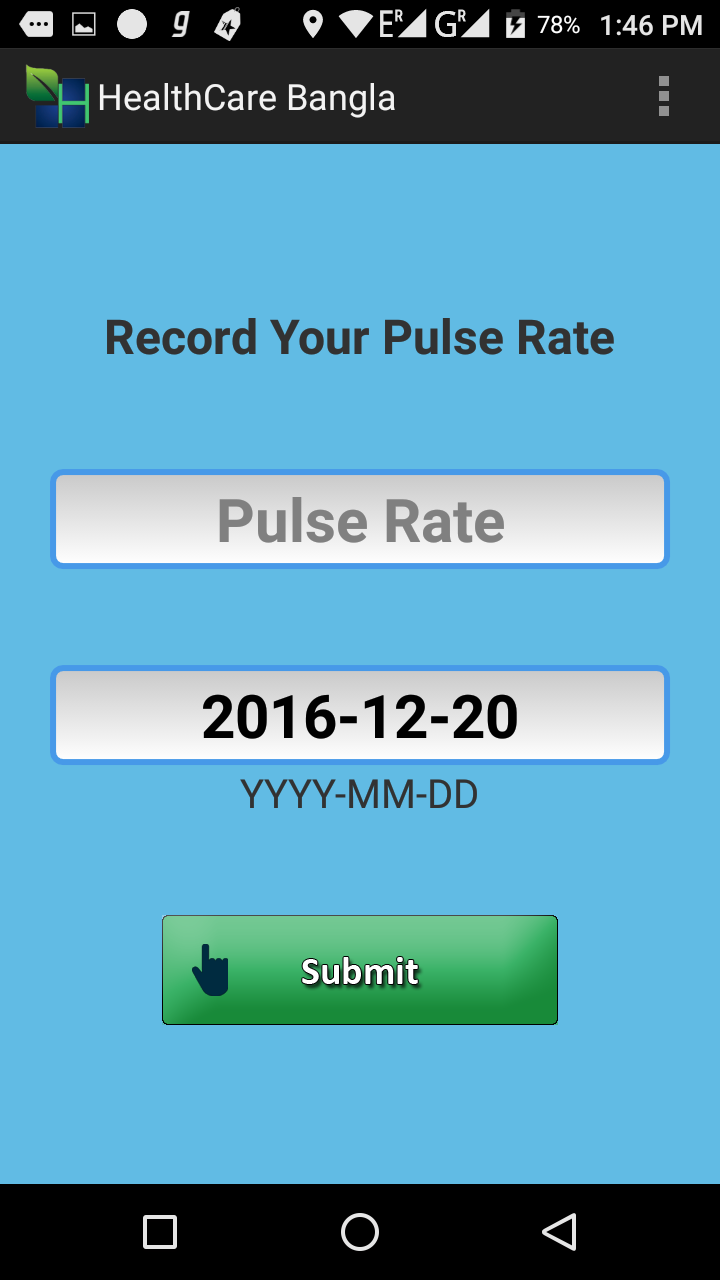
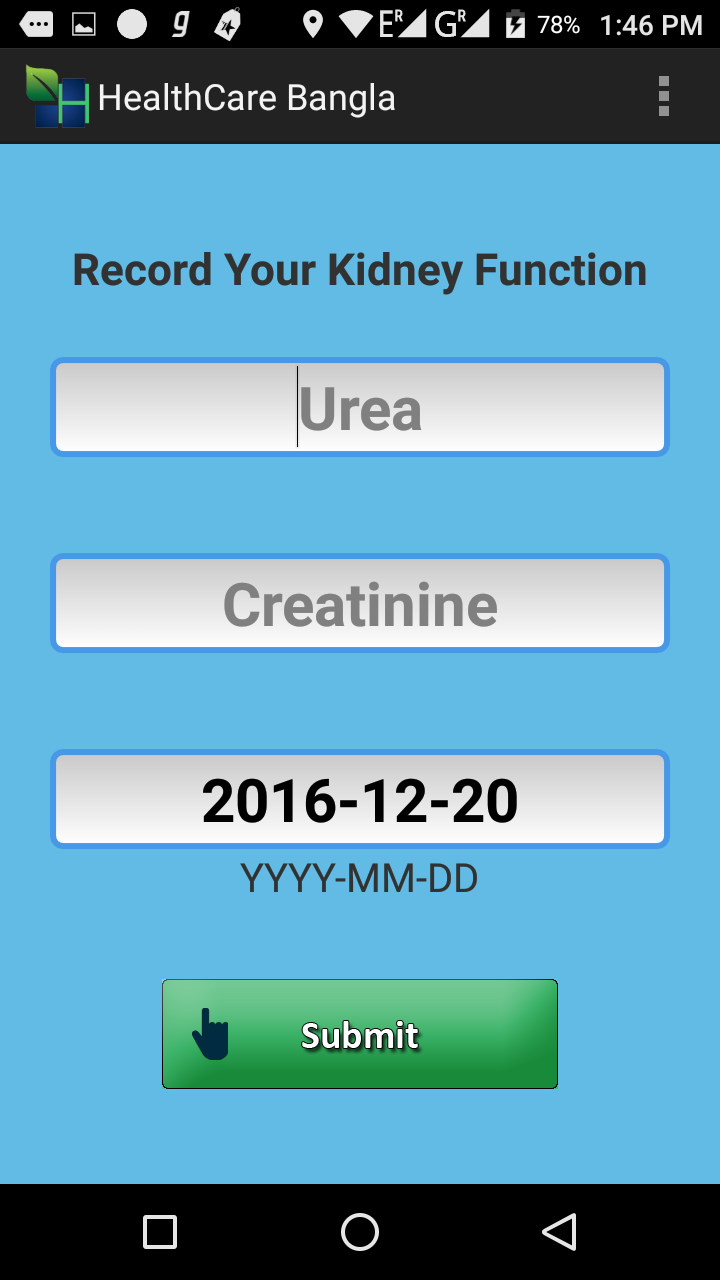
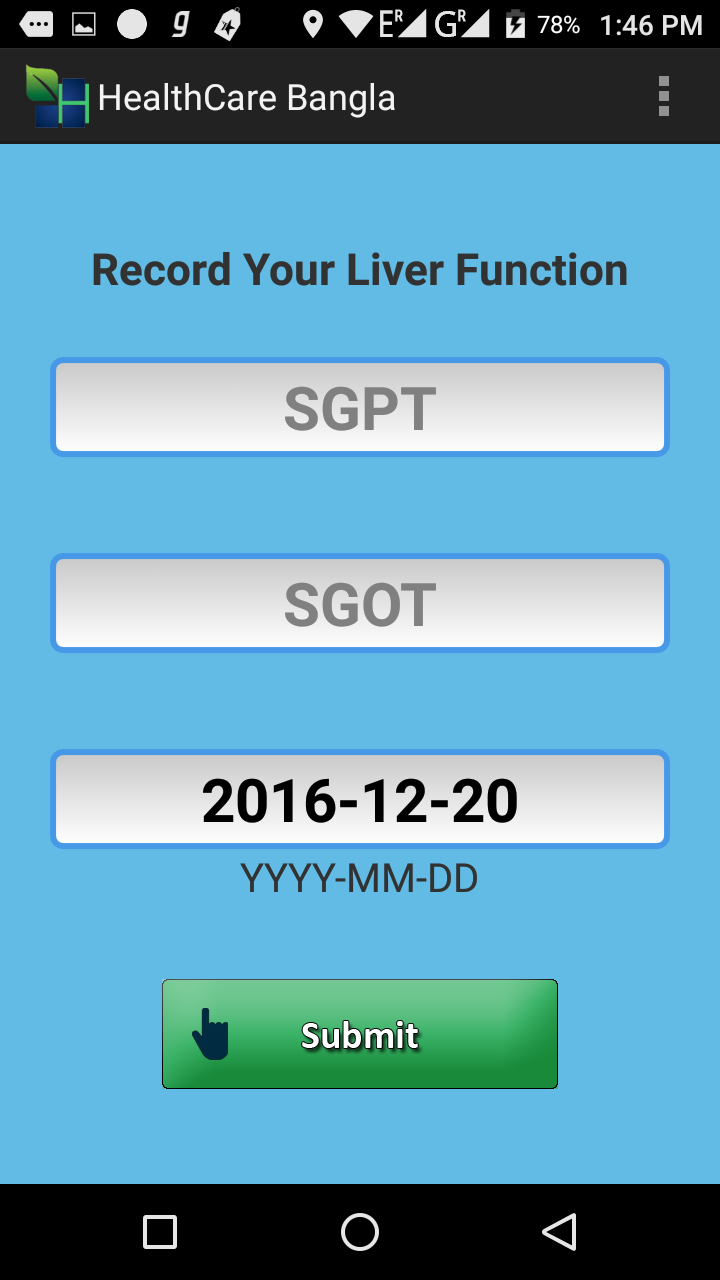
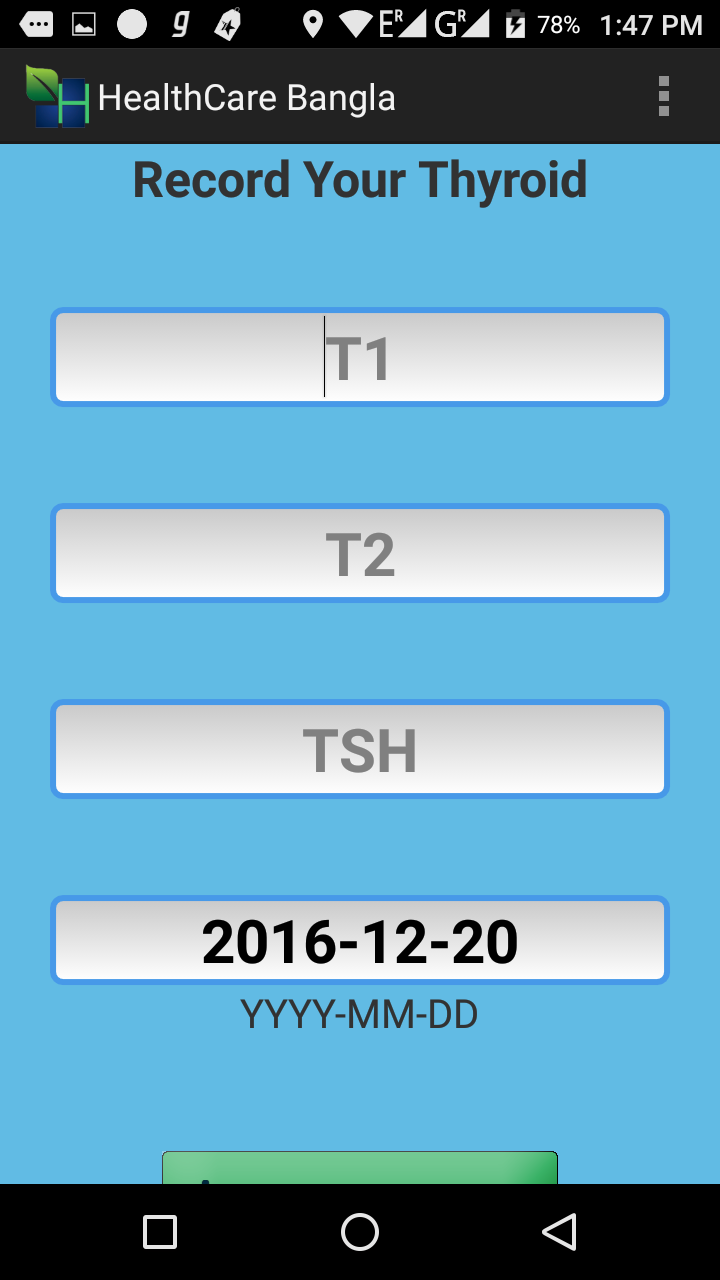
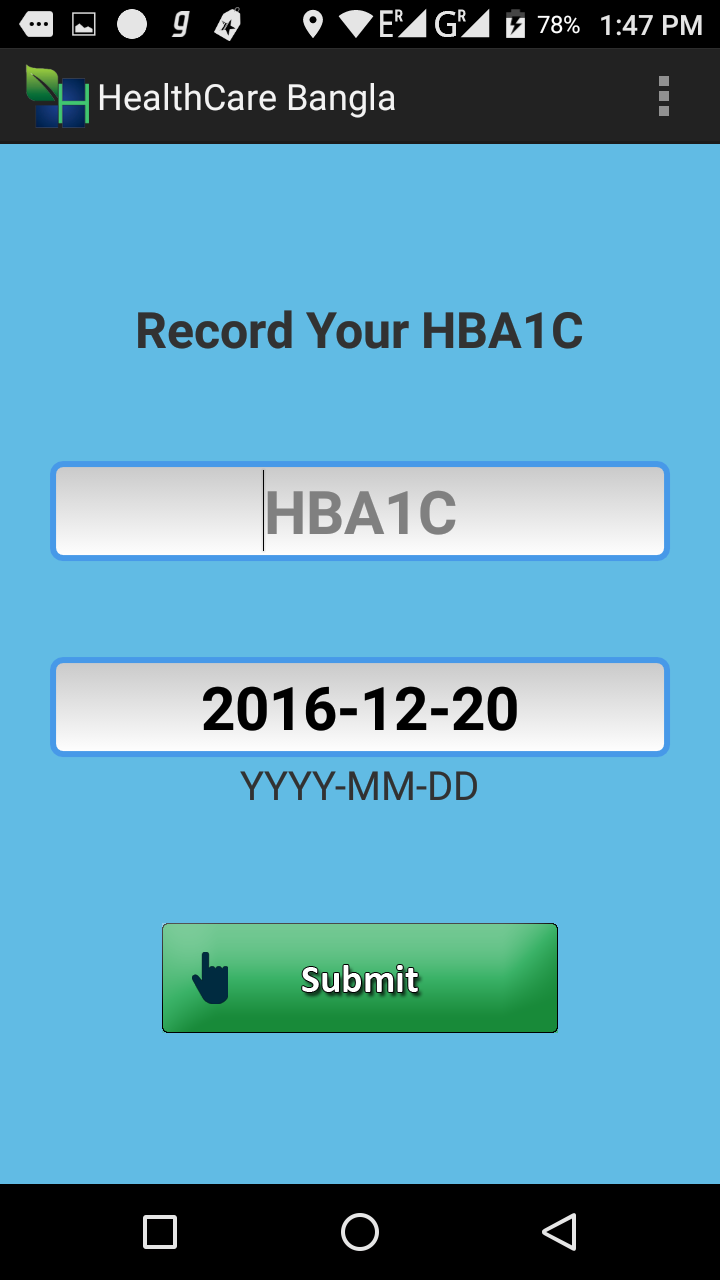
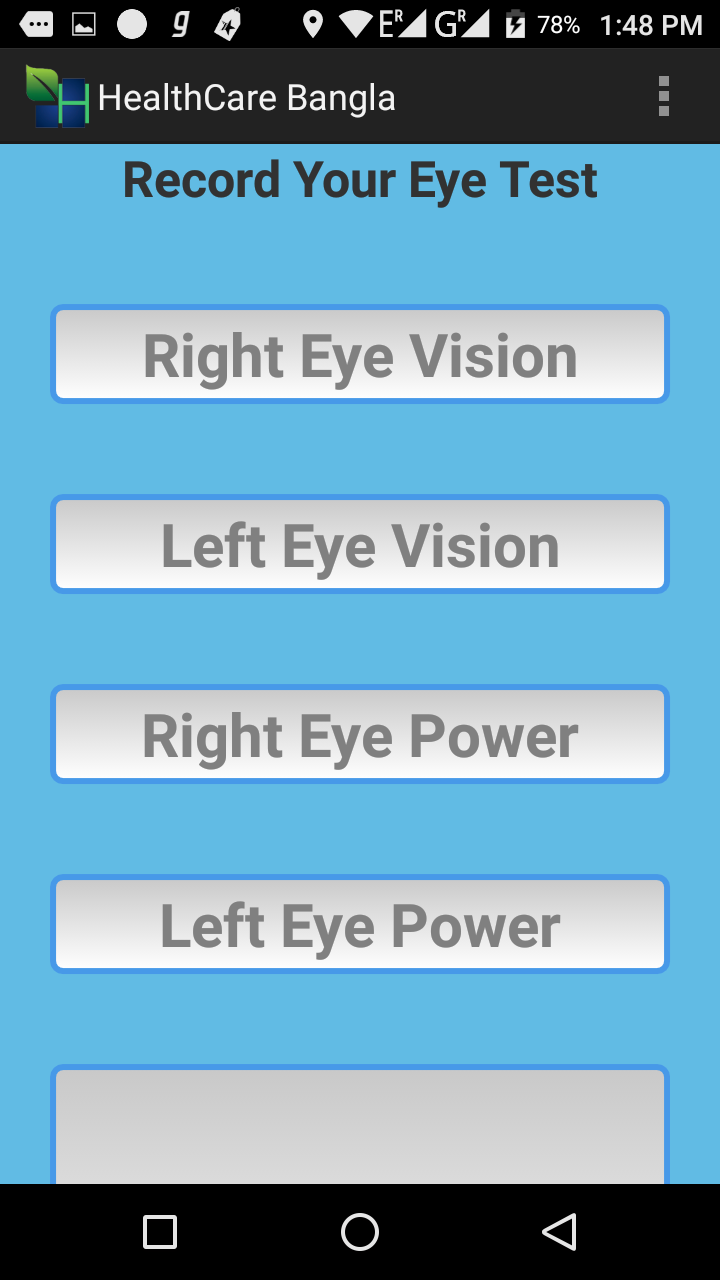
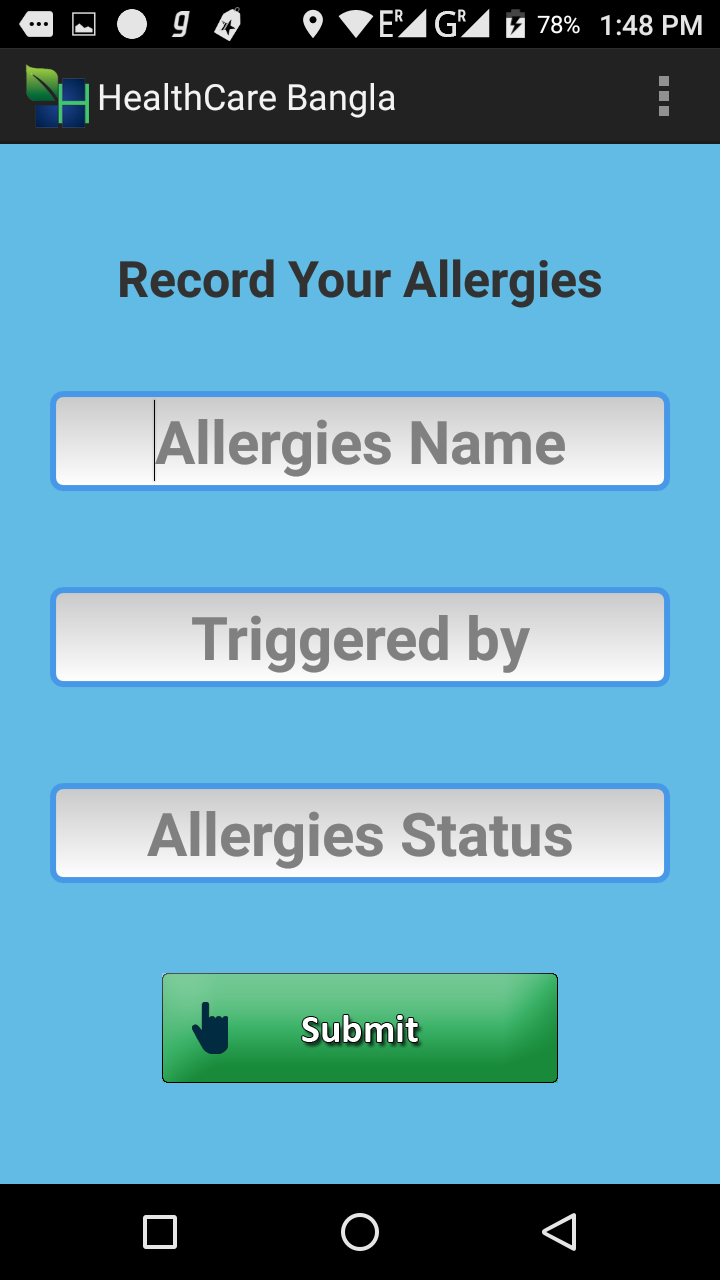
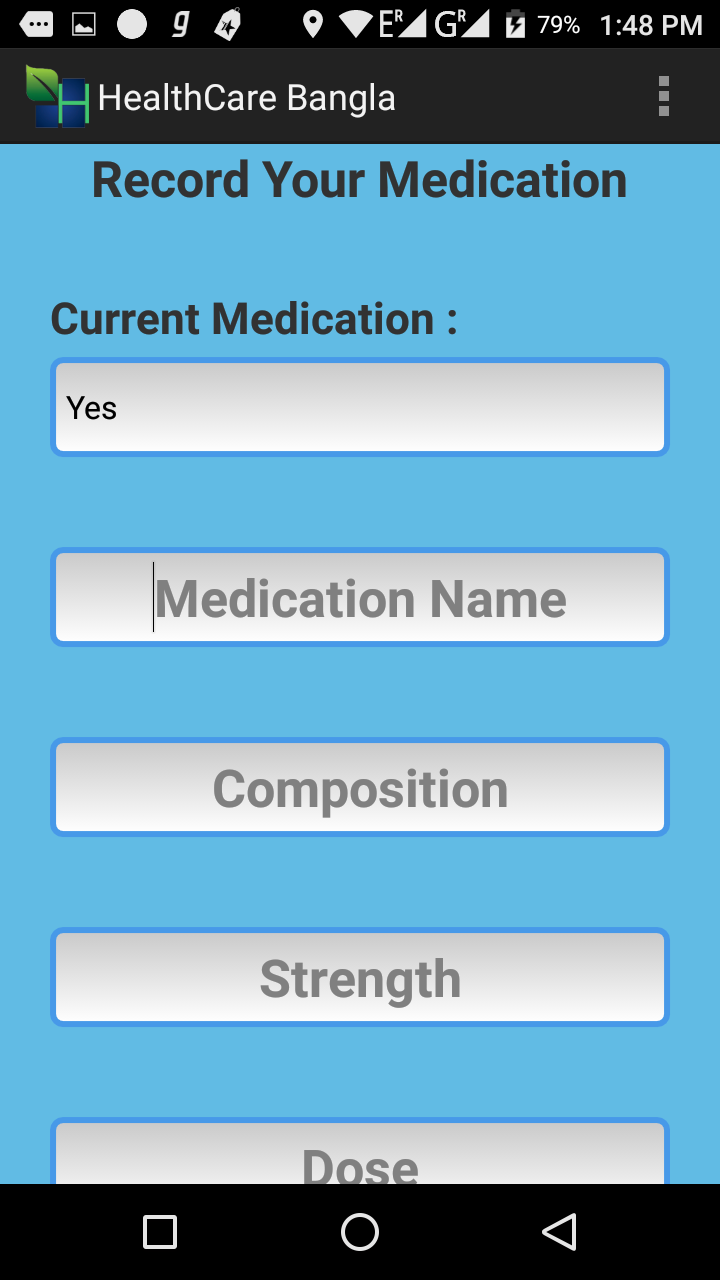
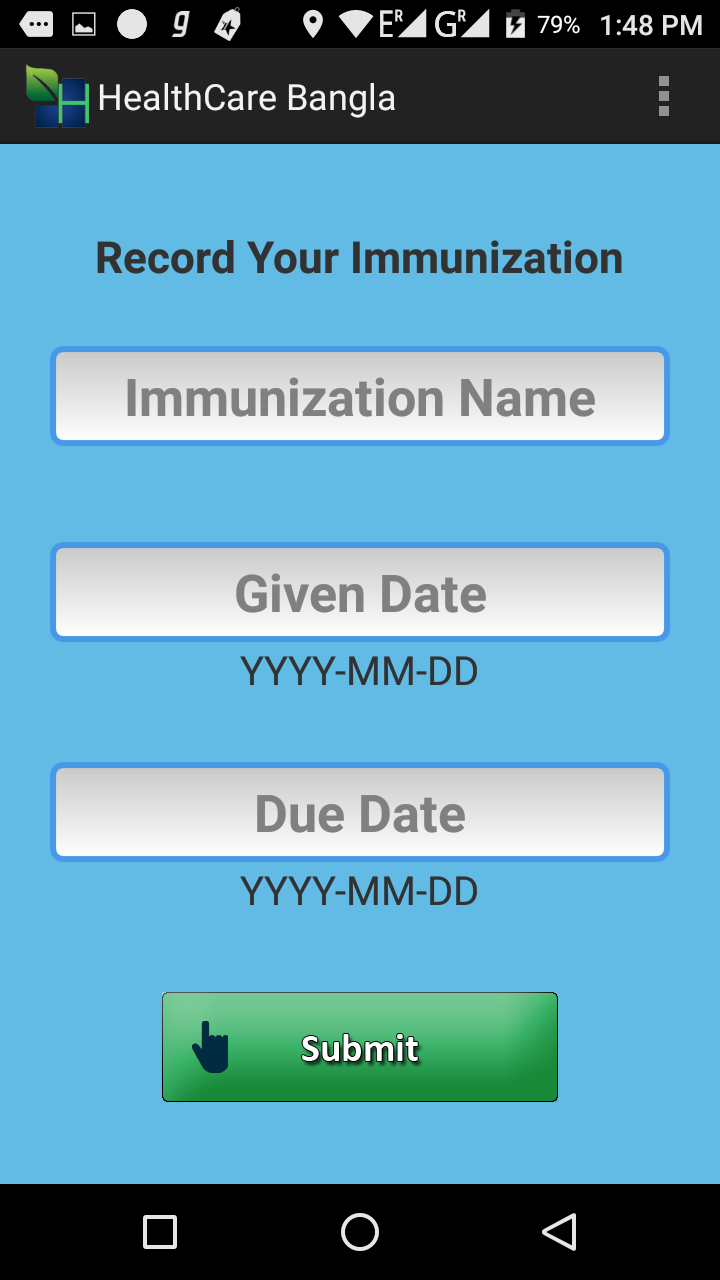
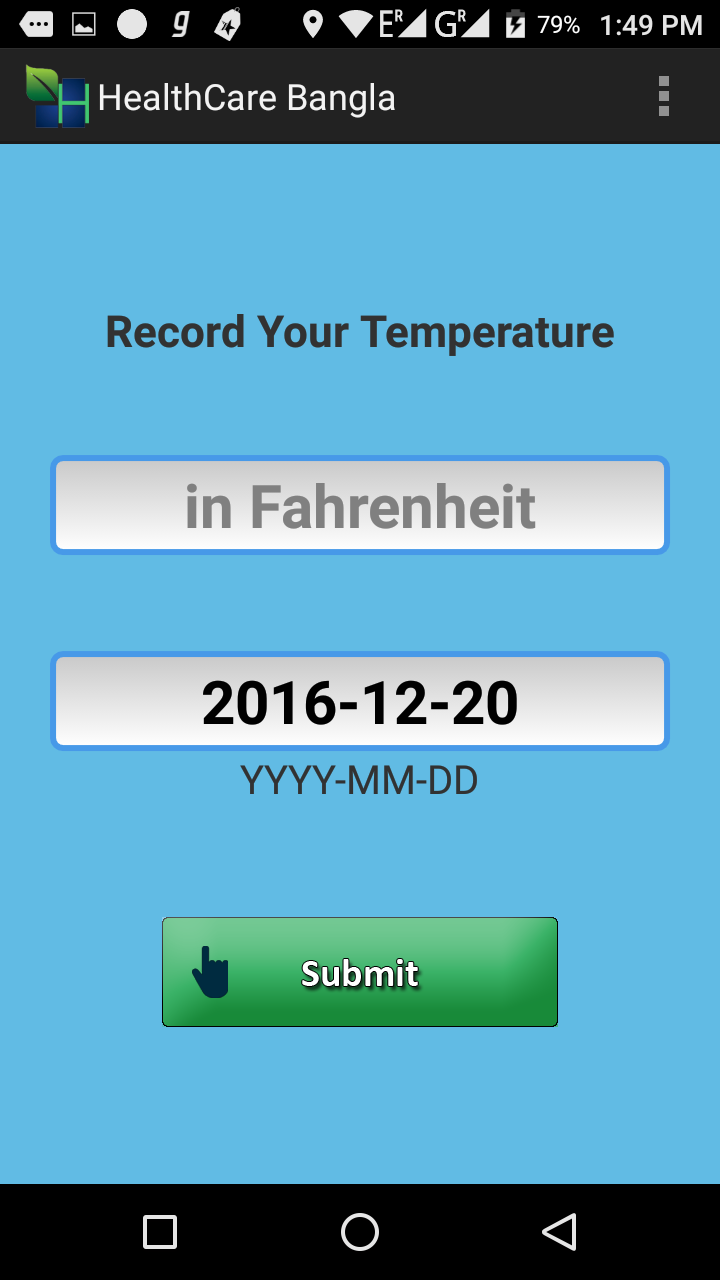
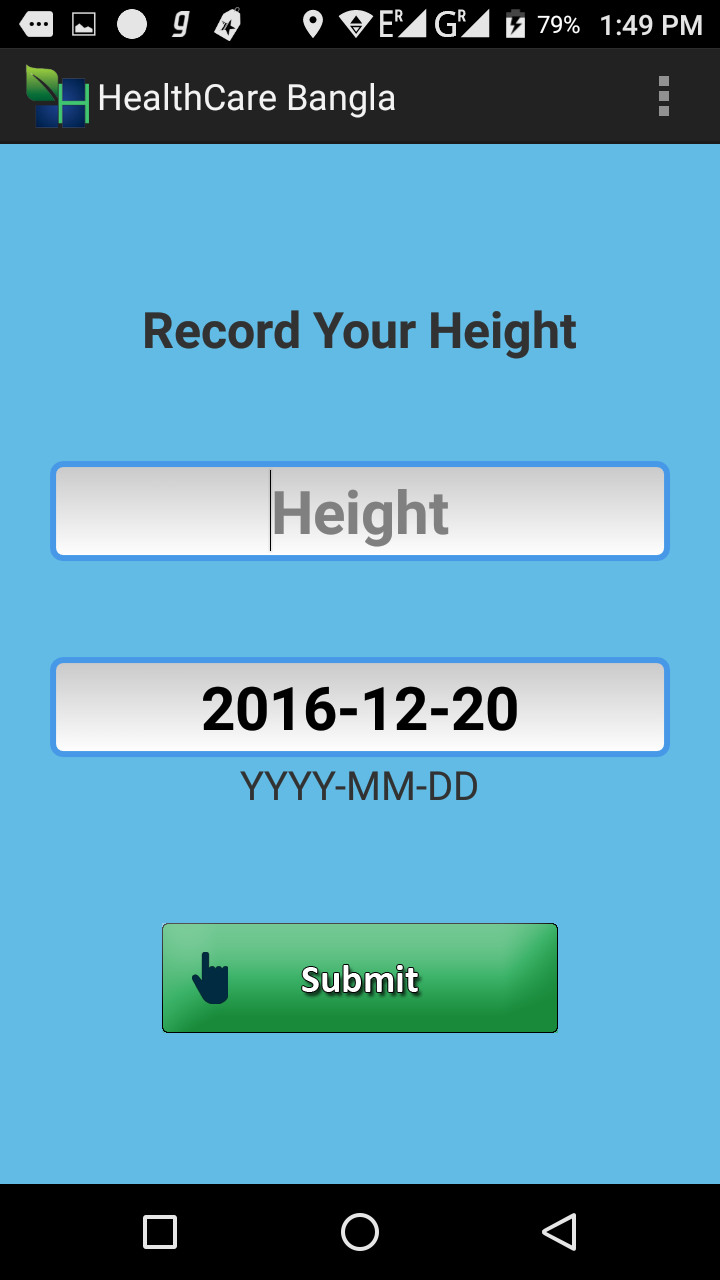
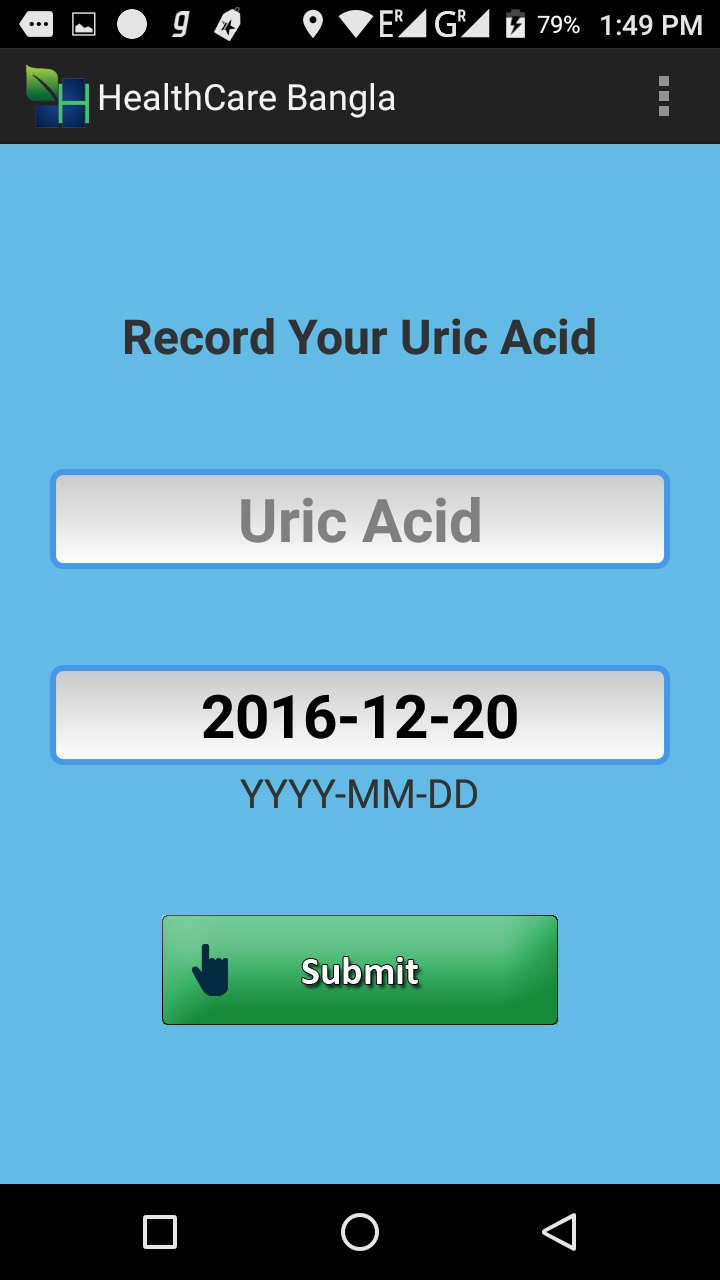
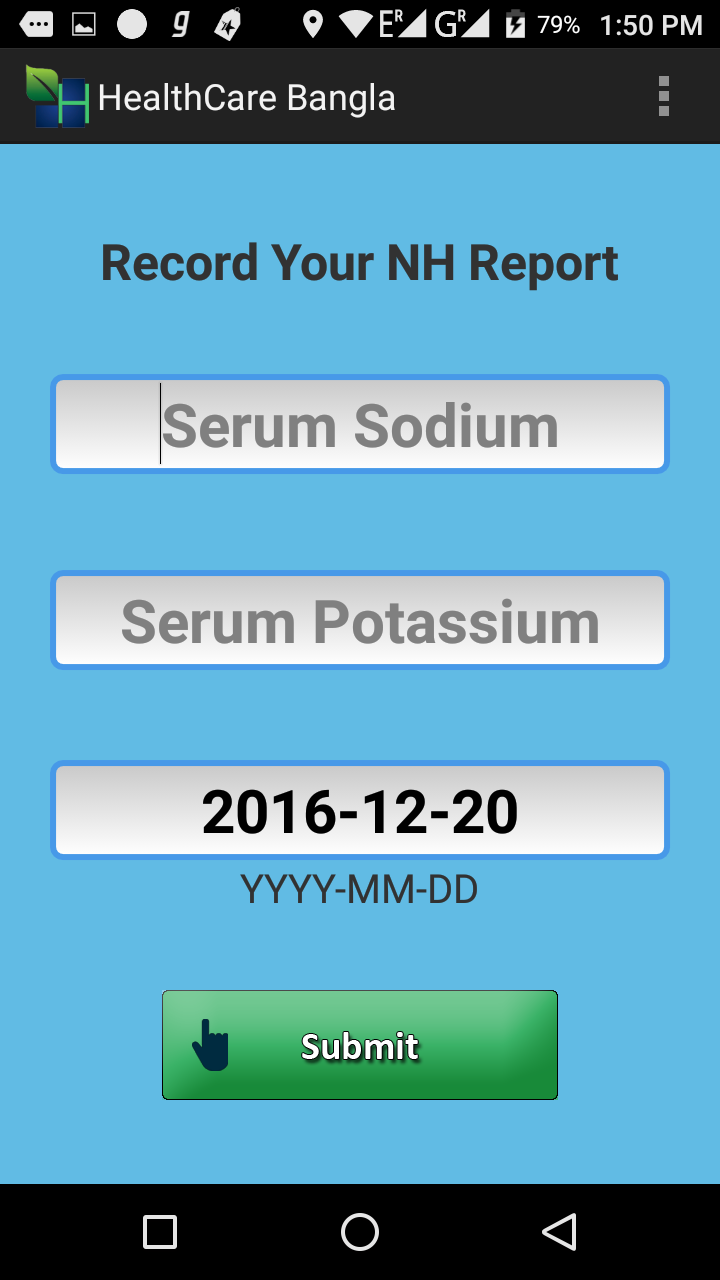
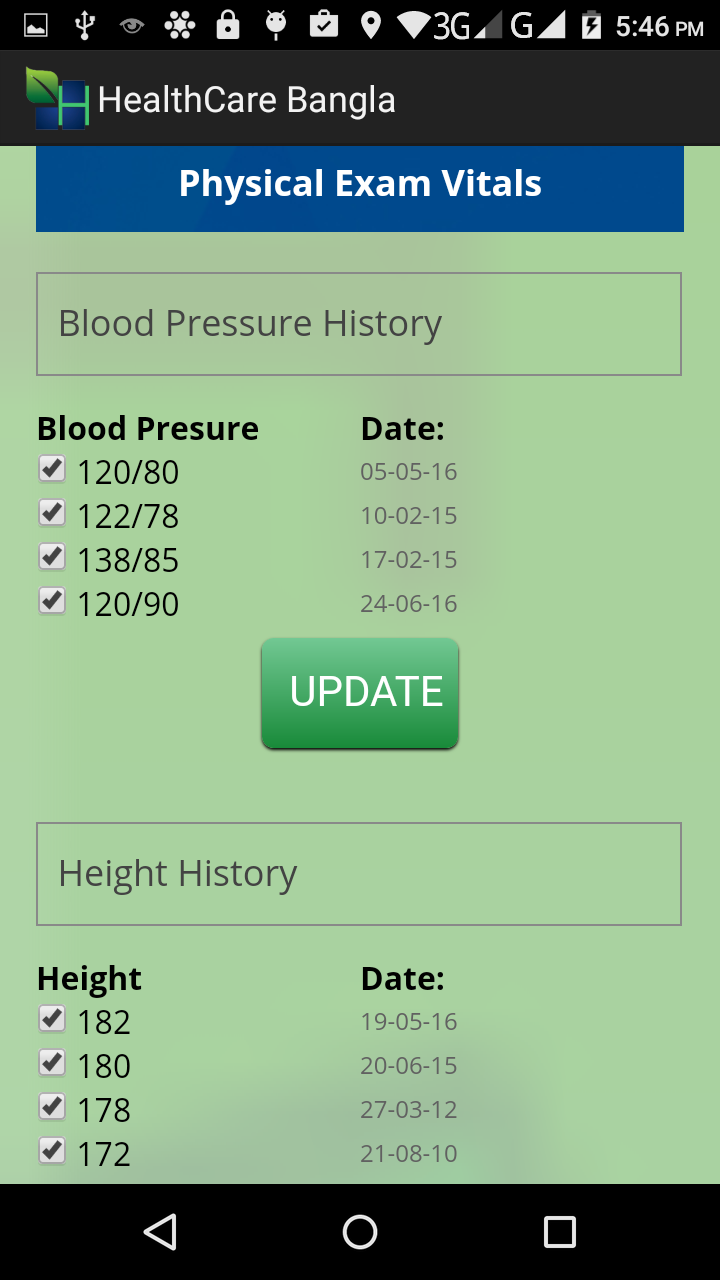
Step5: Upload data
In this section you can upload the data about your Blood Sugar, Blood Pressure, Cholesterol, Weight, Hemoglobin, Plus Rate, Kidney test, Lever test, Thyroid, HBA1C, Eye test, Allergies, Current medication, Immunization, Temperature, Height, Uric Acid, Bilirubin, Sodium-Potassium and ESR. Each of them have deferent form to fill up. Please see the screenshots given below to understand the process. All this data will be stored in your EHR and can be viewed instantly.
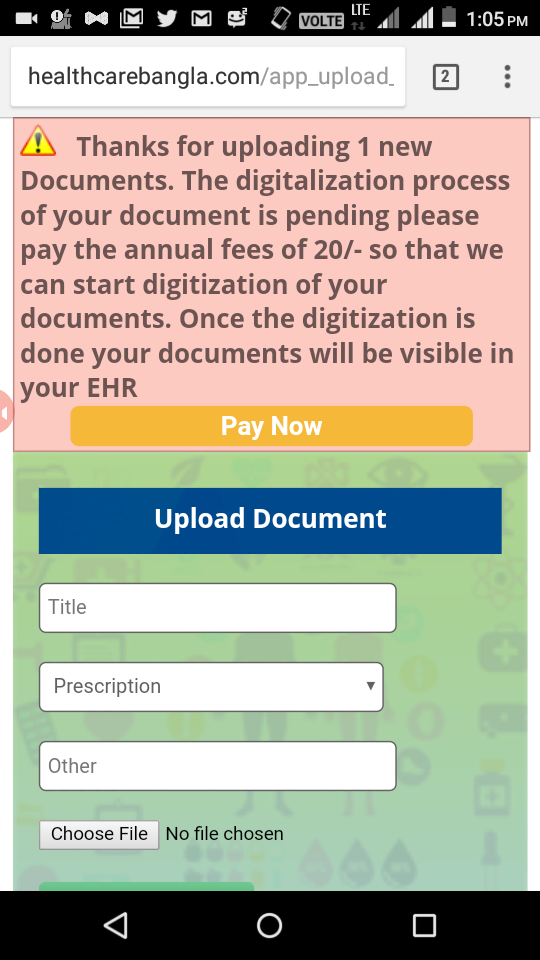
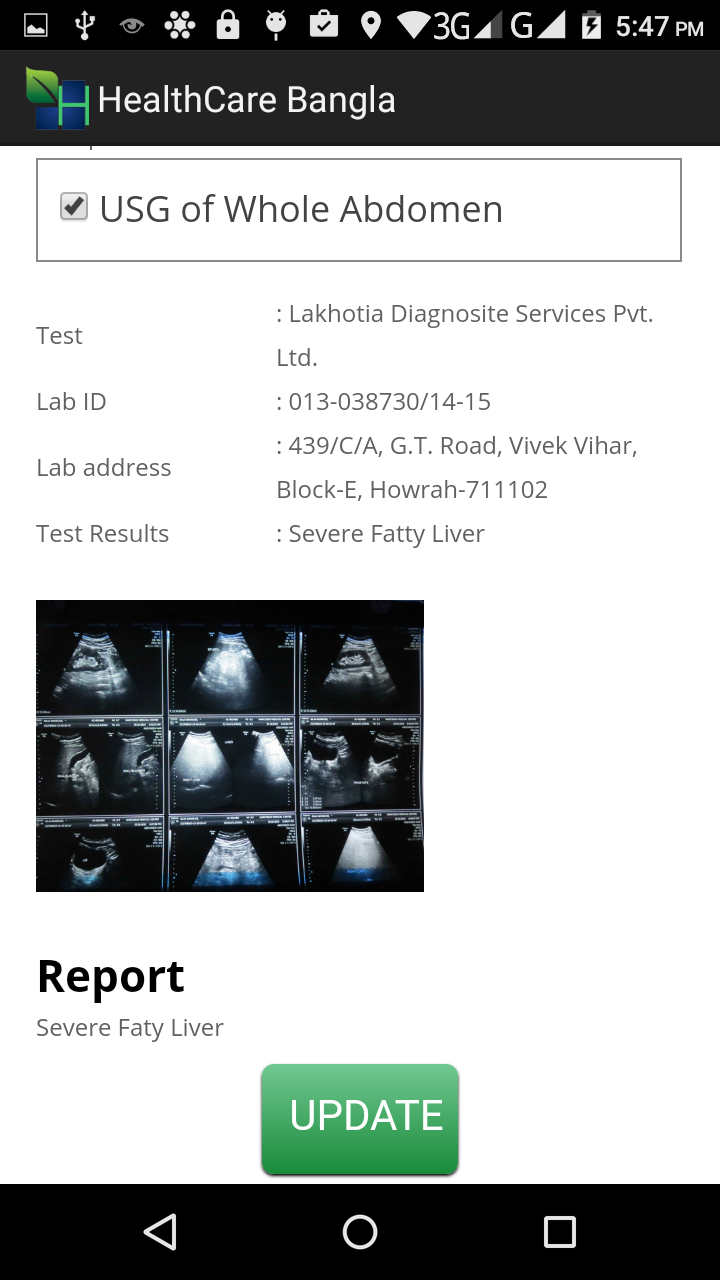
Step6: Upload document
This is the most important section of this application. In this section you can take picture of your Prescription, Blood test reports, X-ray reports, USG reports, Lab reports, Radiology reports, Scan reports etc an upload it. Our team of experts will digitize these reports and put them in your EHR. We charge Rs 20 annually for each document. For example if you have uploaded 10 documents you will be charged only Rs 200. The digitization process will start once you make the payment. We have a payment gateway on in the App. The digitization process takes around 24hrs.
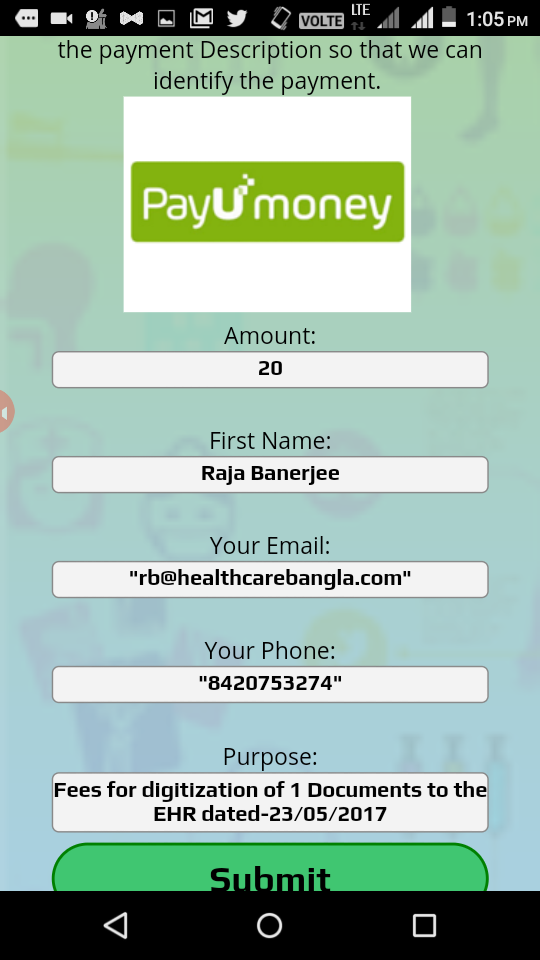
Step7: Make Your Payment
This video shows how you can make the payment for the digitization of your medical records. You can pay us using the PAYTM app. Please send your payment to our mobile no. (8017846414). You can download the PAYTM app from the link given below: https://play.google.com/store/apps/details?id=net.one97.paytm
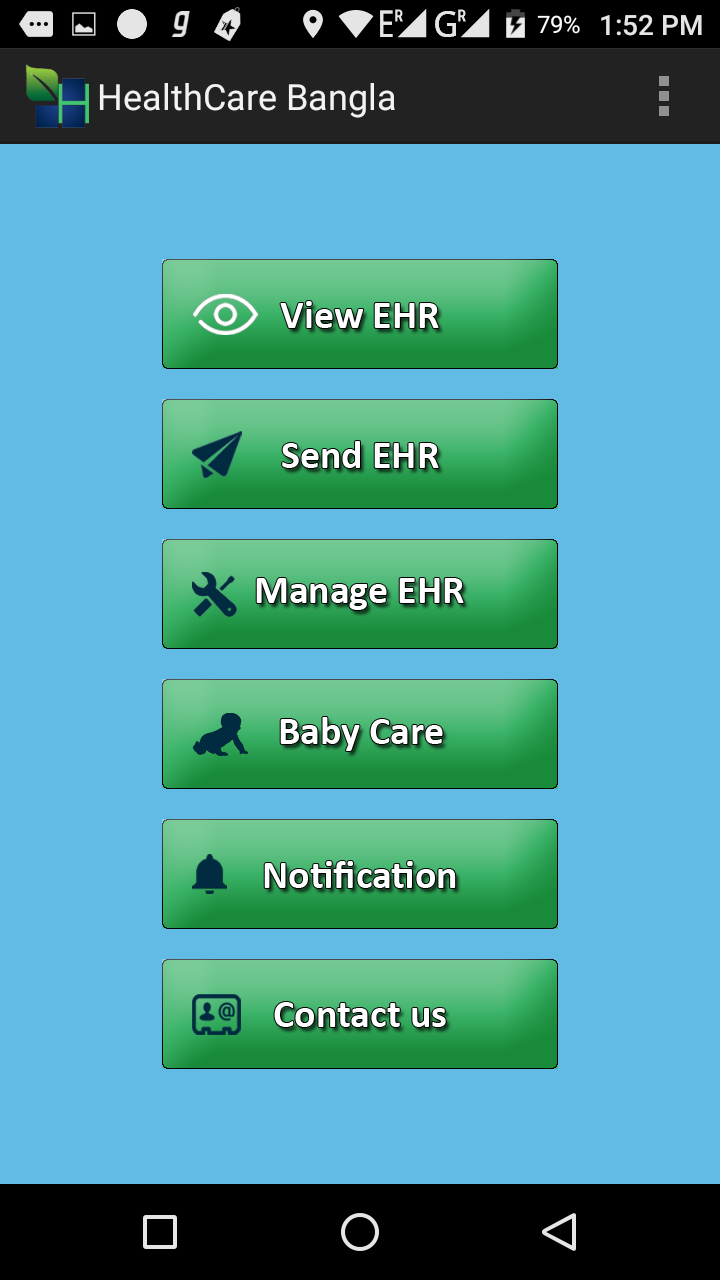
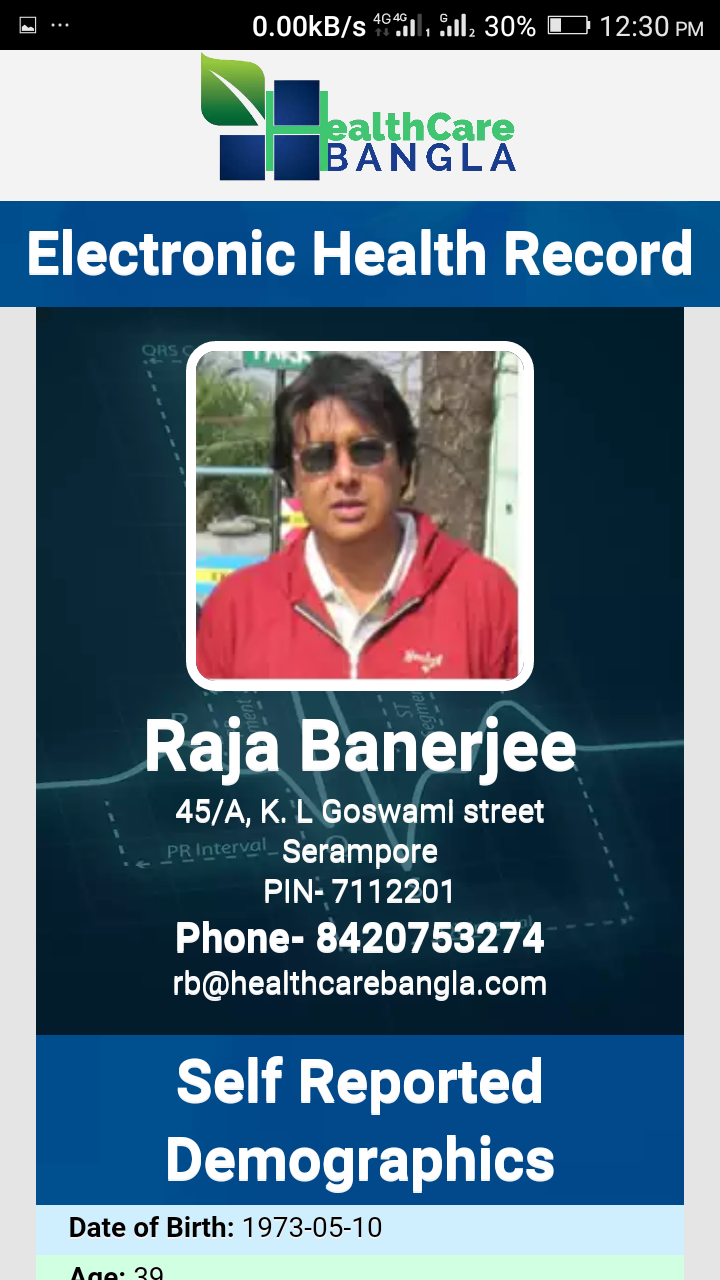
Step8: View your EHR
In the home section click on the “EHR BUTTON”. It will take you to the EHR section. In the EHR section, click on view “EHR BUTTON”. It will show your complete EHR. Please see the screenshots given below to understand the process.
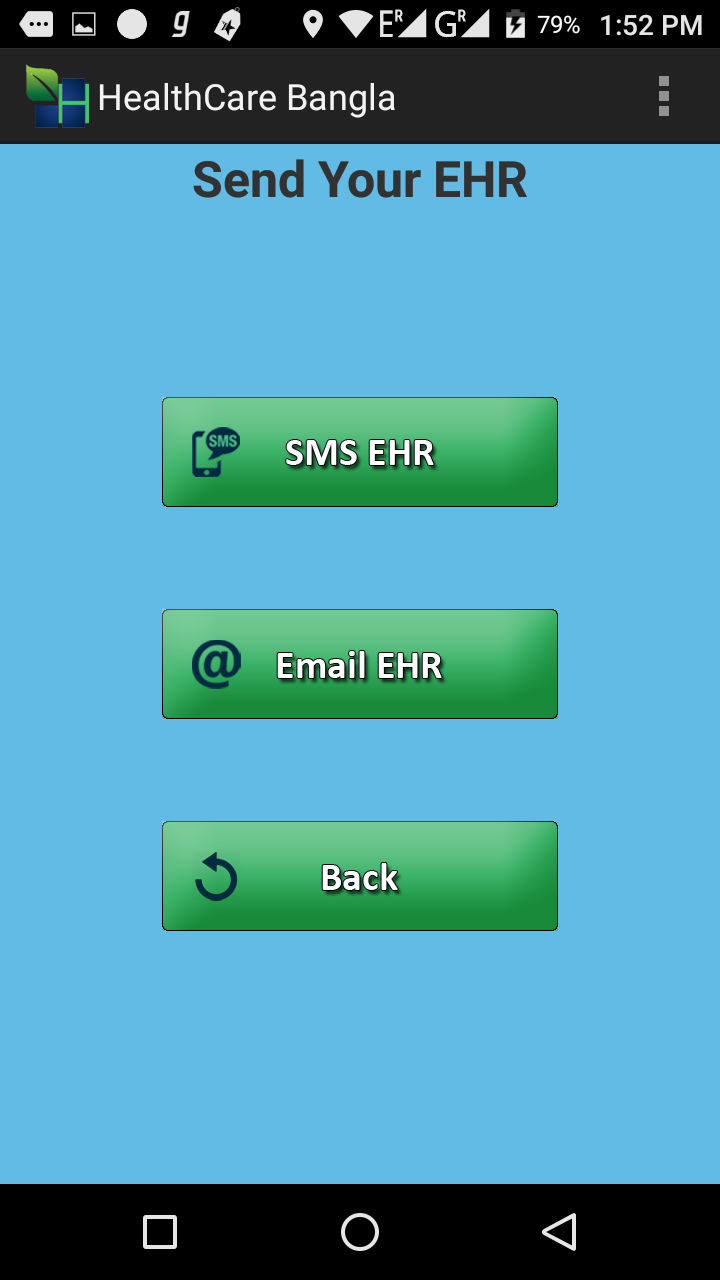
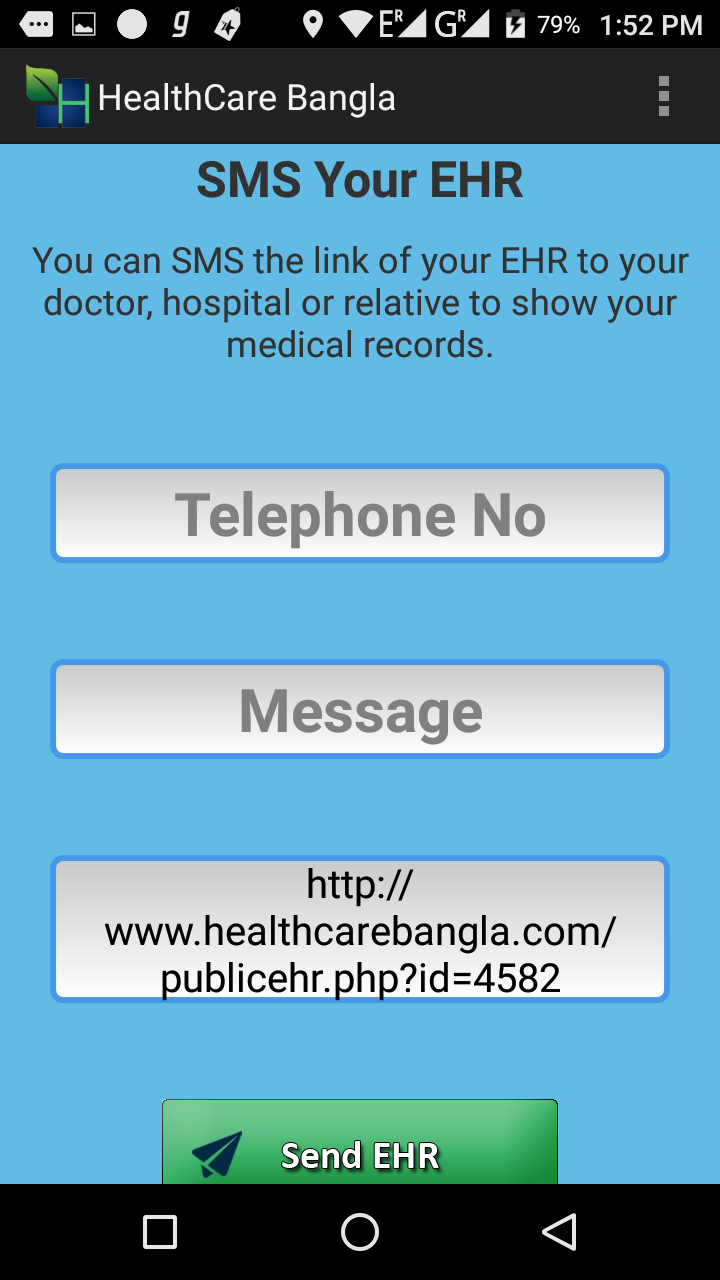
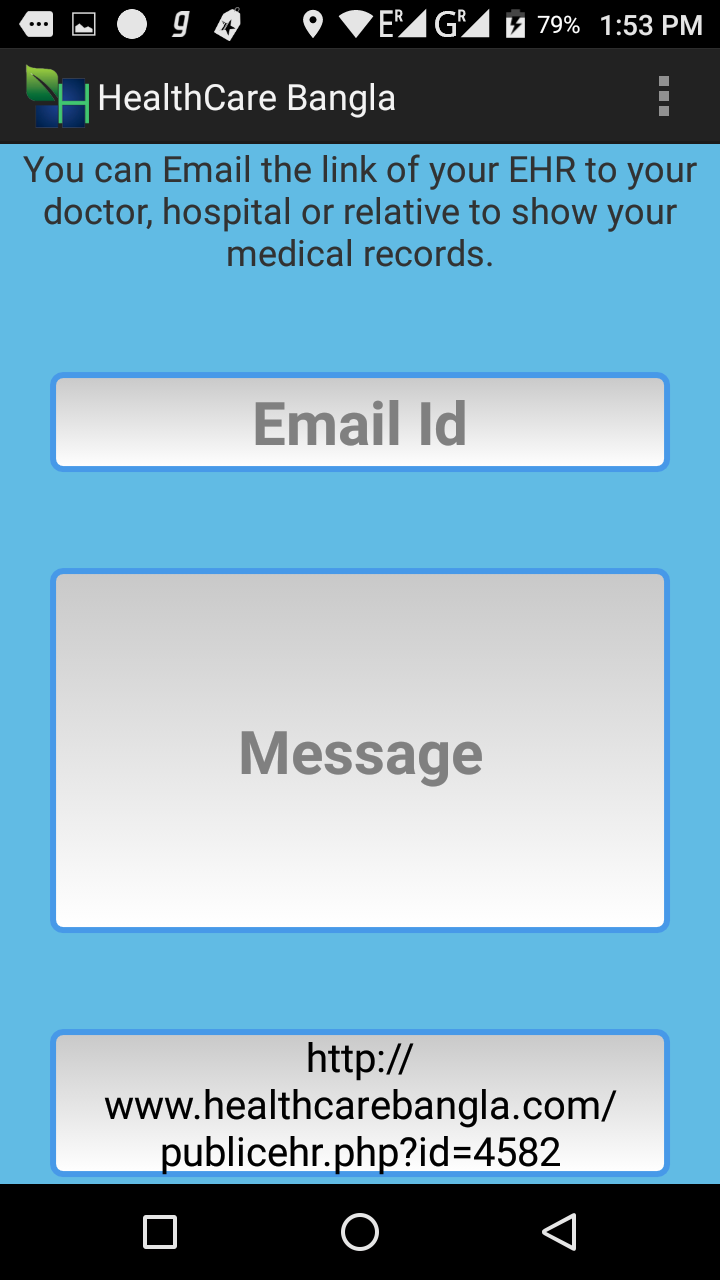
Step9: Send EHR
In the EHR section click on send “EHR BUTTON”. It will take you to send EHR section. In this section you can send the link of your EHR page to any doctor or hospital of your choice. You can send the EHR by SMS or Email. Please see the screenshots given below to understand the process.
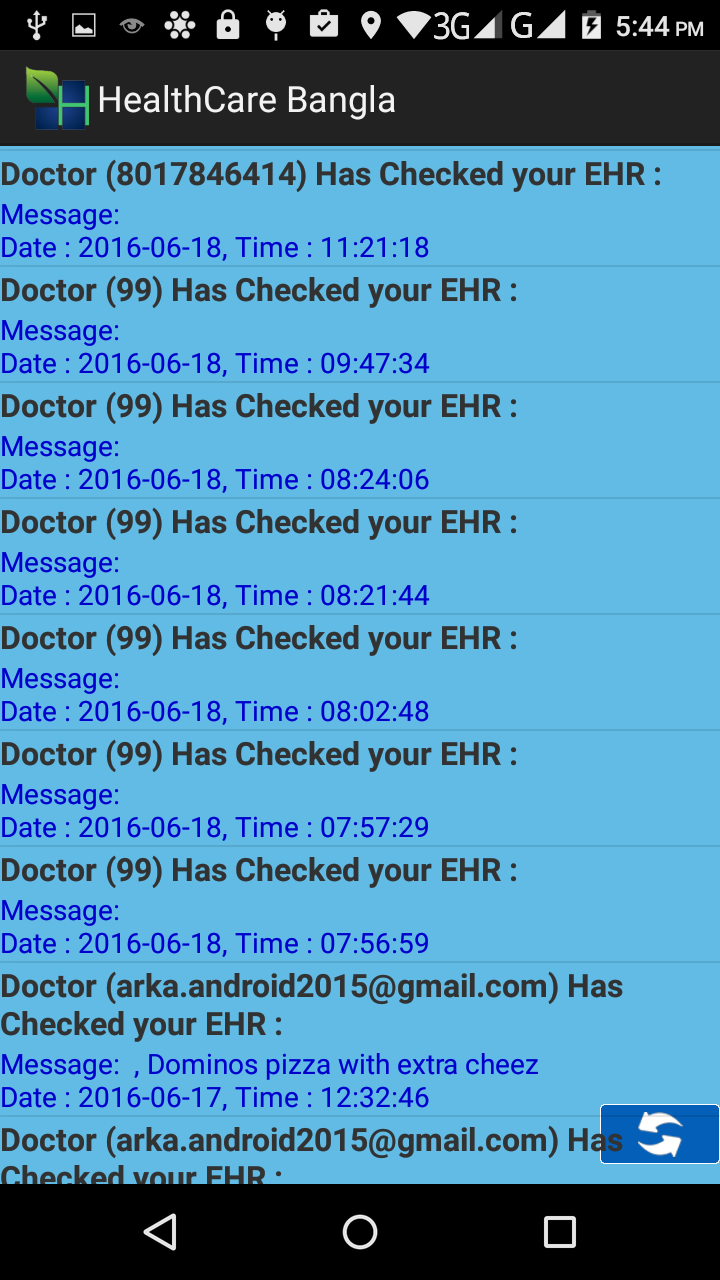
Step10: Notification
In the EHR section there is the “NOTIFICATION BUTTON”. That takes you to the notification section. The notification section gives you a notification if the doctor has seen your EHR. It also display the massages send to you from the doctor who viewed your EHR.
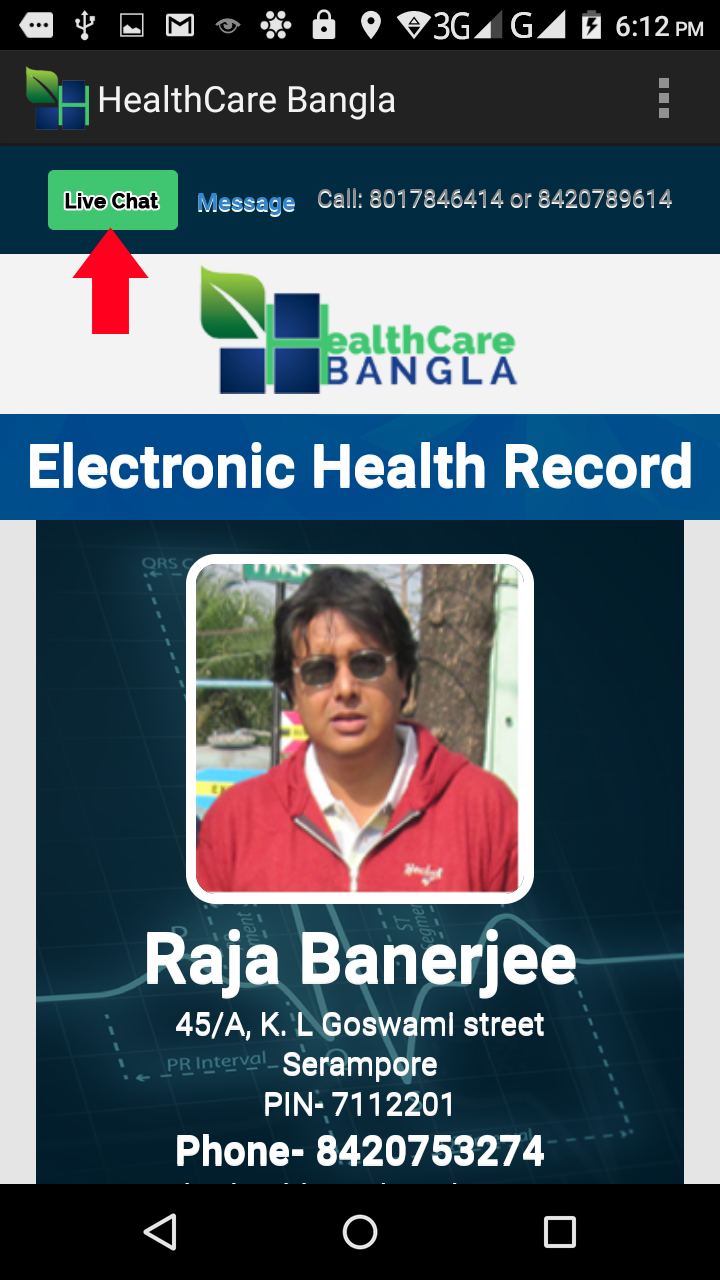
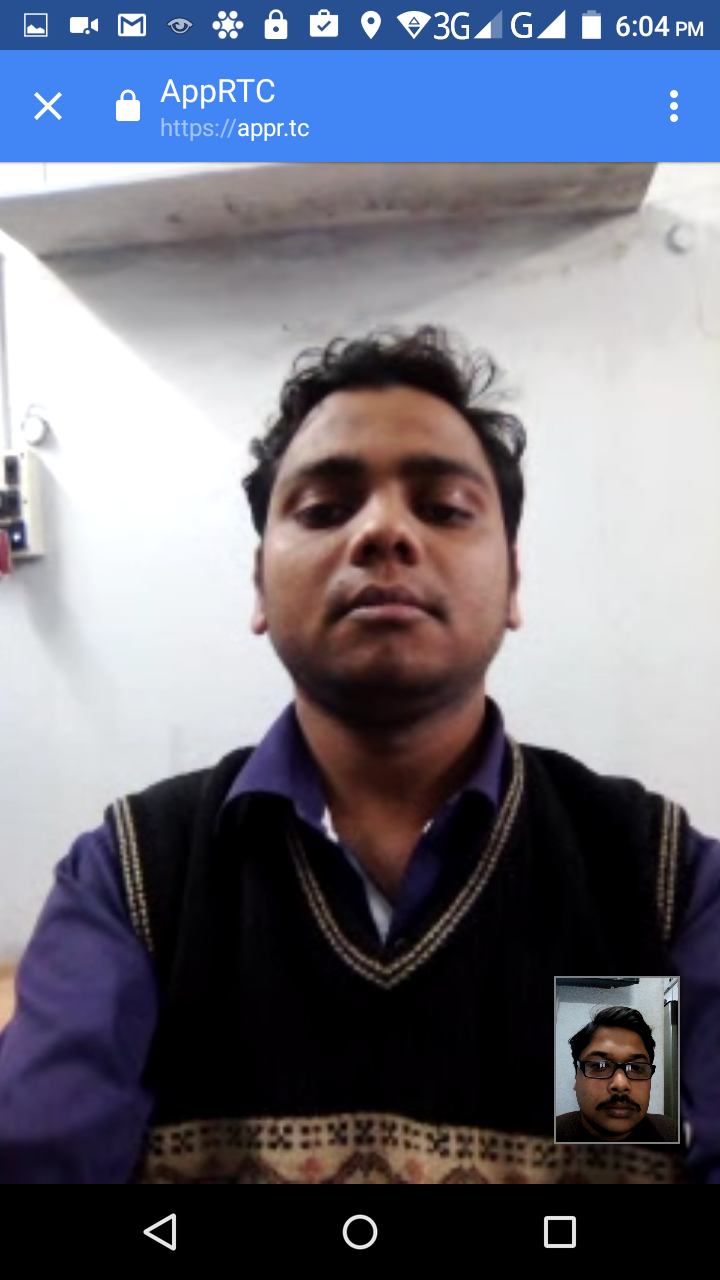
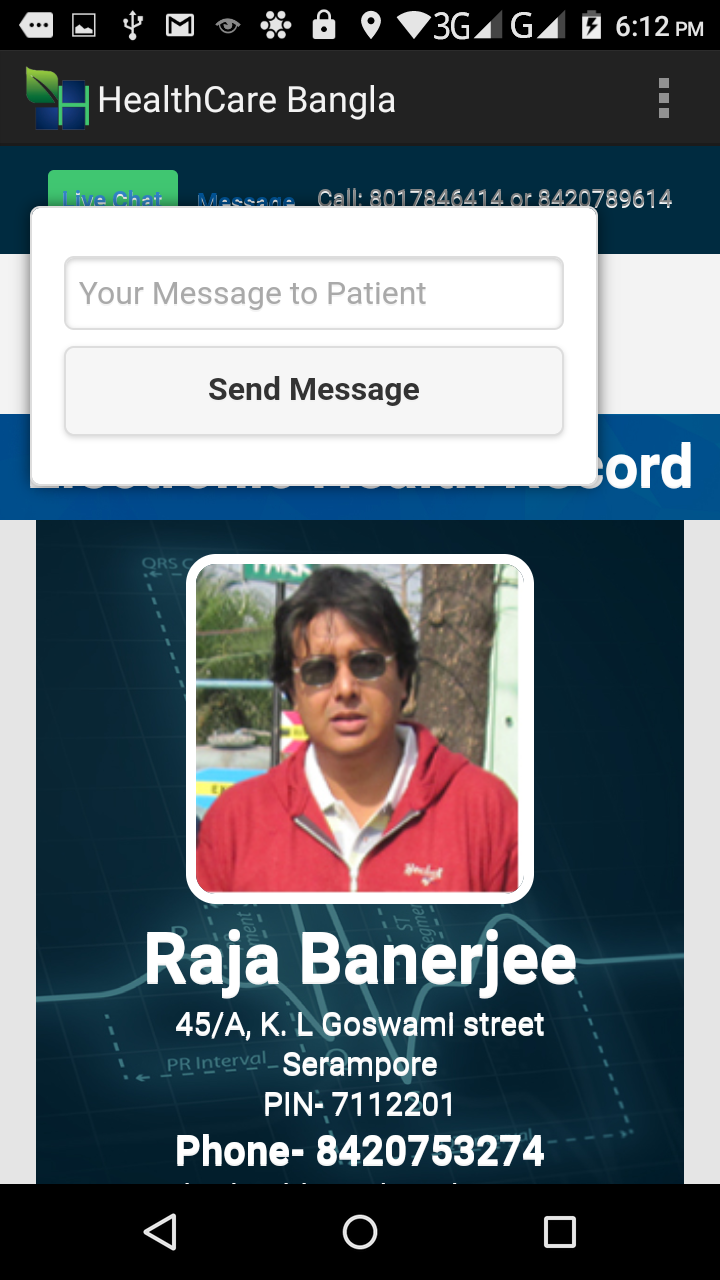
Step11: Video call with the doctor
Your EHR page has a “LIVE CHAT BUTTON”. Once you get the notification that the doctor is viewing your EHR you can call the doctor and ask him to press the “LIVE CHAT BUTTON” on the top of your EHR page. At the same time you should also go to your EHR page and press the “LIVE CHAT BUTTON”. Now you and your doctor can have a live video chat. Please see the screenshots given below to understand the process.
Step12: Manage EHR
In this section you can hide or display certain sections of your EHR. You can visualize only those sections in which your present doctor is interested and hide the rest of the sections. It is very useful when you have a long EHR. Please see the screenshots given below to understand the process.
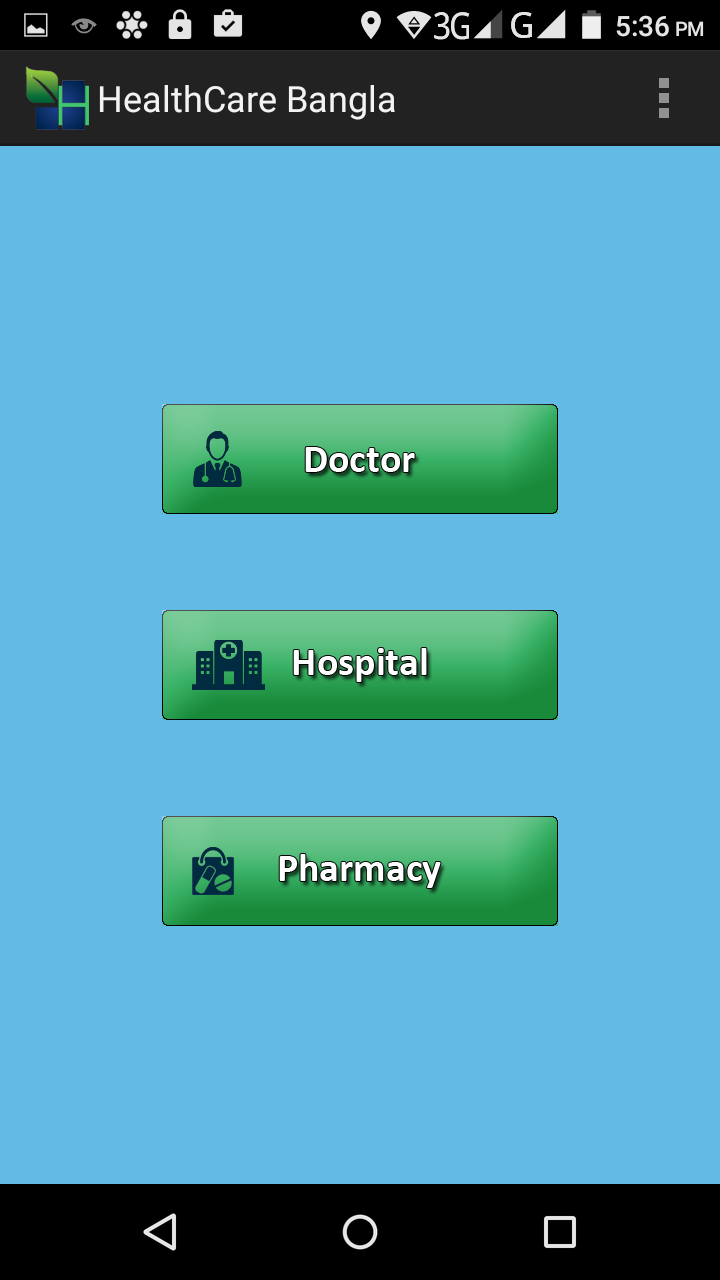
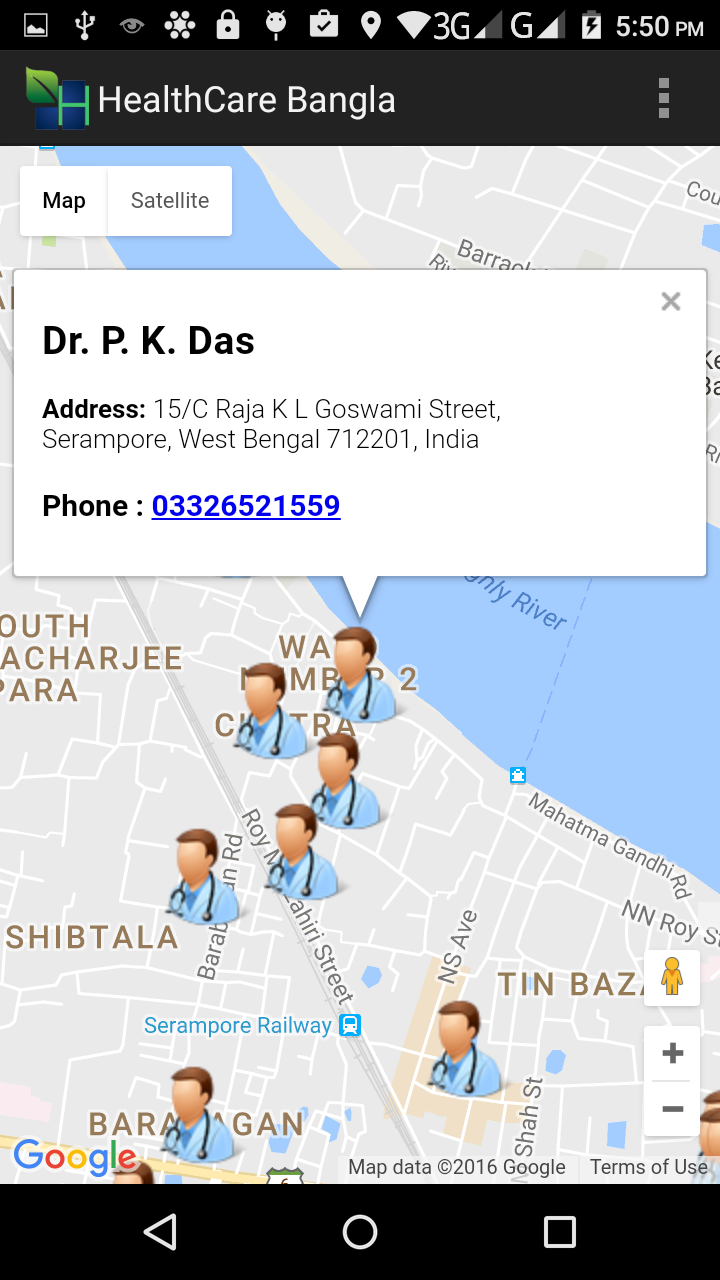
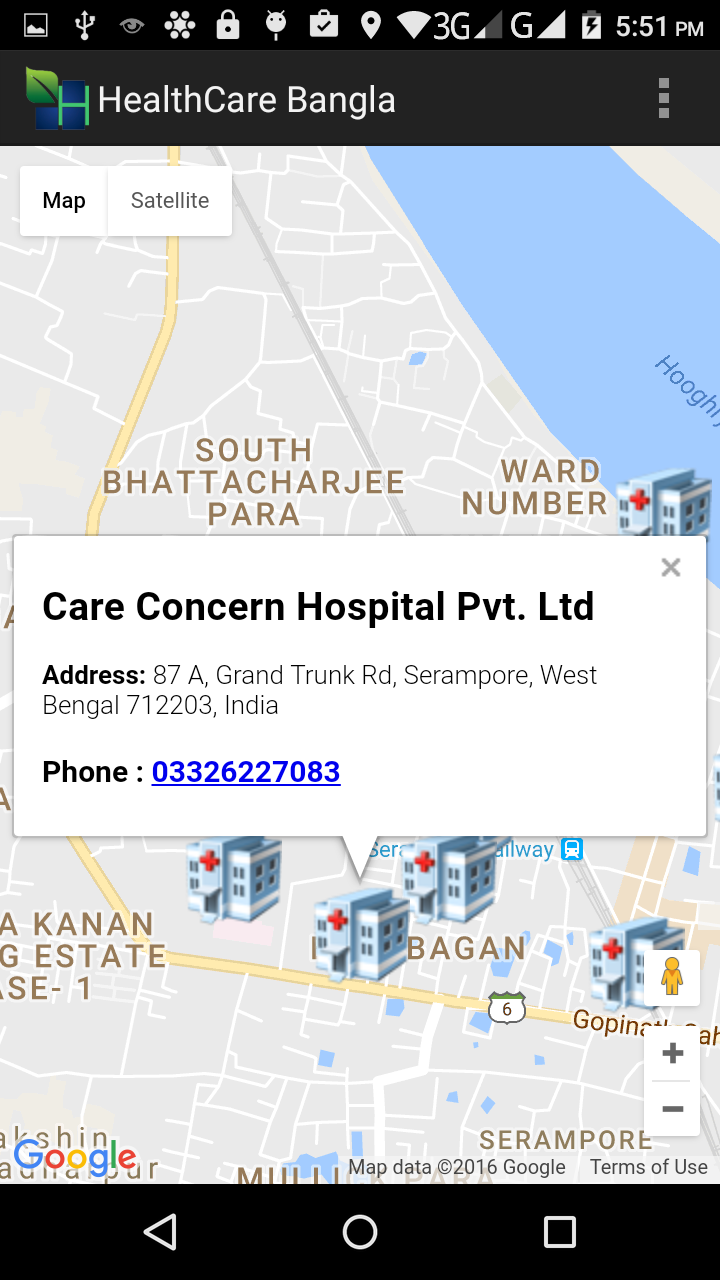
Step13: Medical emergency
In the user home section there is the medication “EMERGENCY BUTTON” which takes you to the medical emergency sections. In the medical emergency section you can search for Doctors, Hospitals or Medicine Shops with in 2 km of your current location. It displays all the providers on Google map and once you click on any marker it displays details of the provider along with its phone number. You can click on the phone number to trigger a call to that particular provider. Please see the screenshots given below to understand the process.
How Can We Help?
+91 9051282840
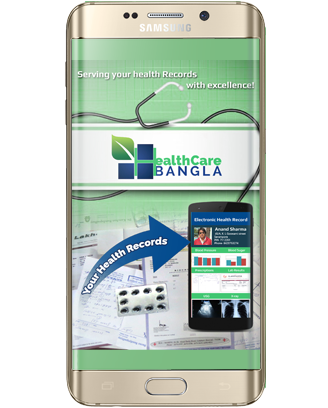
HCB APP AVAILABLE
Download our app and keep your health records on your fingertips. You can upload various test results, send your EHR to the doctor and get notifications from the doctor instantly.